How I stripped the paint from my staircase and landing
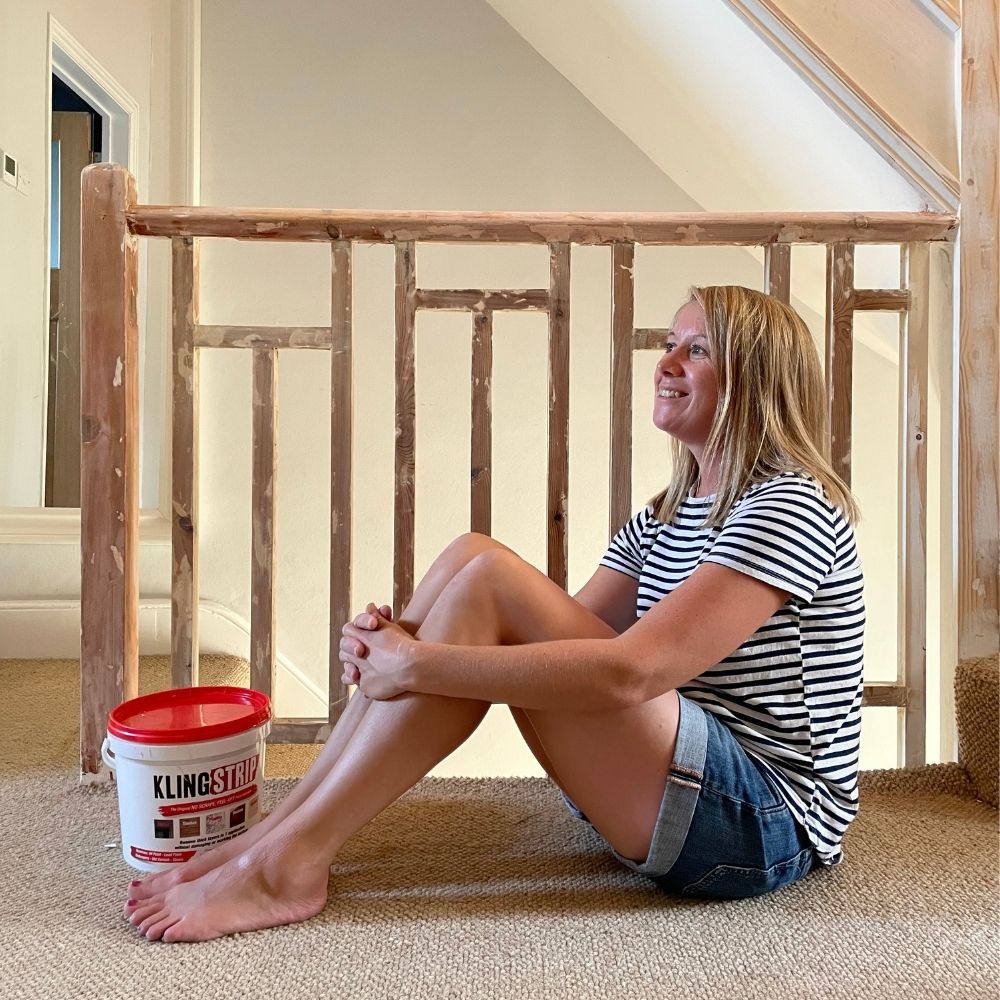
I was gifted the Kling Strip paint stripping product that I used to strip our stairs and woodwork with.
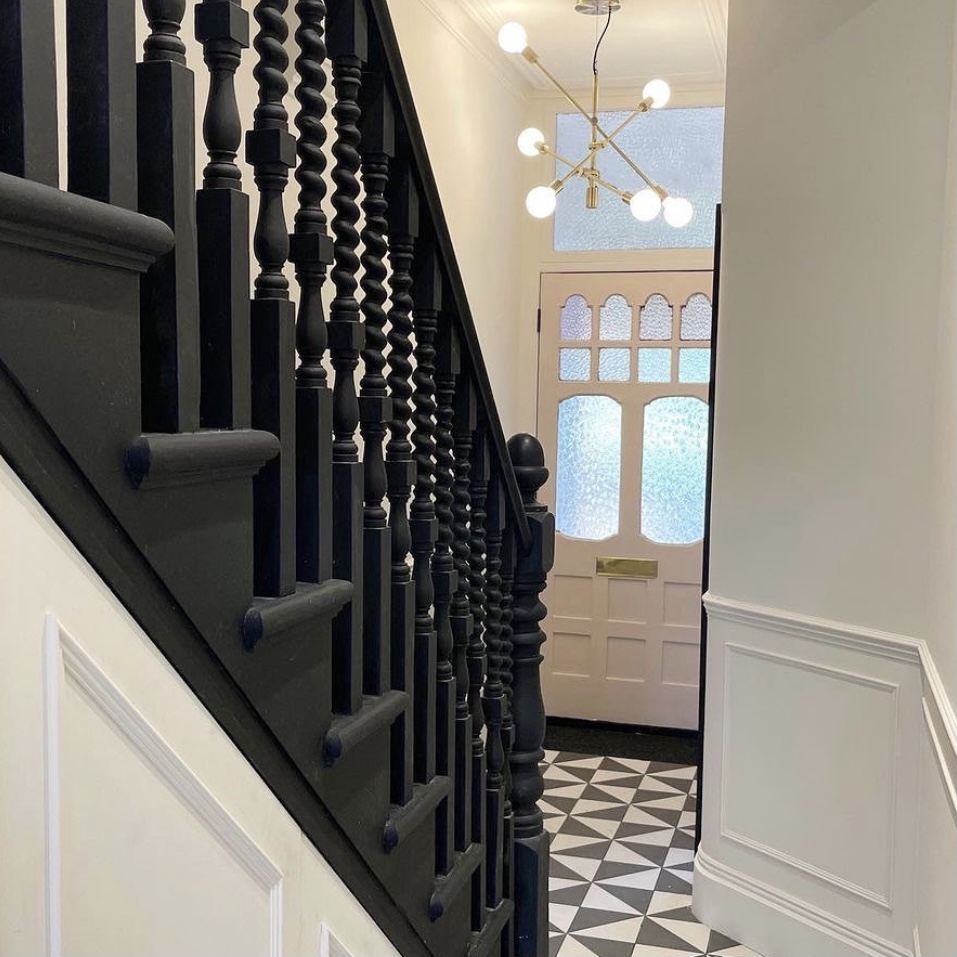
I’ll try to keep this as short, informative and as fun as possible, but stripping paint from staircases isn’t the most glamorous of renovation projects, nor is it the most exciting. What you need is patience, momentum and a strong mind to succeed. It’s also good to have all the inspiration and the end goal in the back of your mind too! This is what I’m trying to achieve and you could almost for a moment believe it’s our hallway.
I won’t lie it hasn’t been an easy process. It’s been long. However had I been doing it everyday it wouldn’t have taken anywhere near the 4 months it took to me to get the painting stage.
I’m going to write this blog post guide and my experience in two parts; the first being all about why I decided to strip the stairs and how I did it, and the second being all about the painting and finishing stage which I will write once we have our runner and carpet in place, probably in about four months time. However if you read all the way to the bottom you’ll be able to see how it’s currently looking with its first coat of dark grey undercoat.
Why we did it?
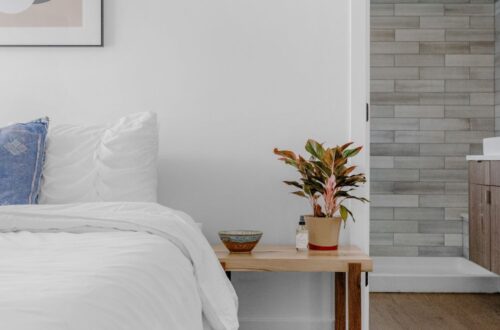
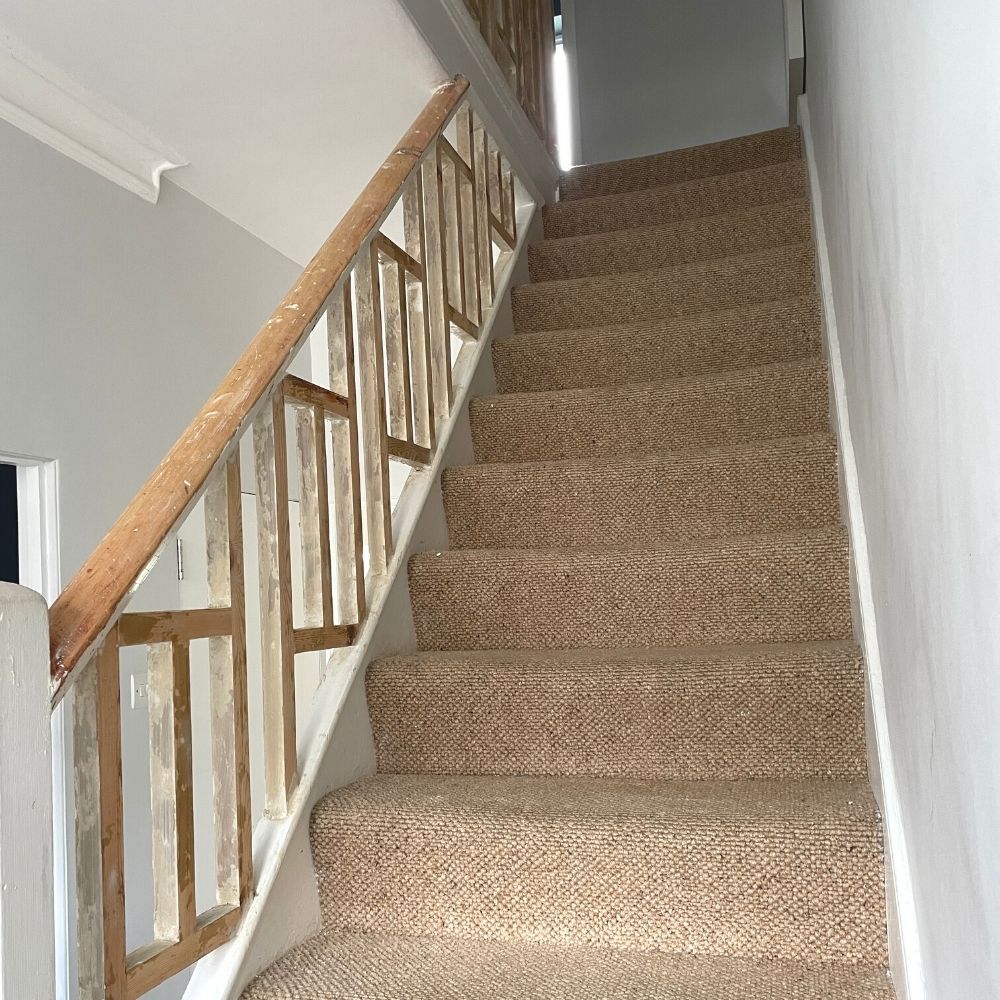
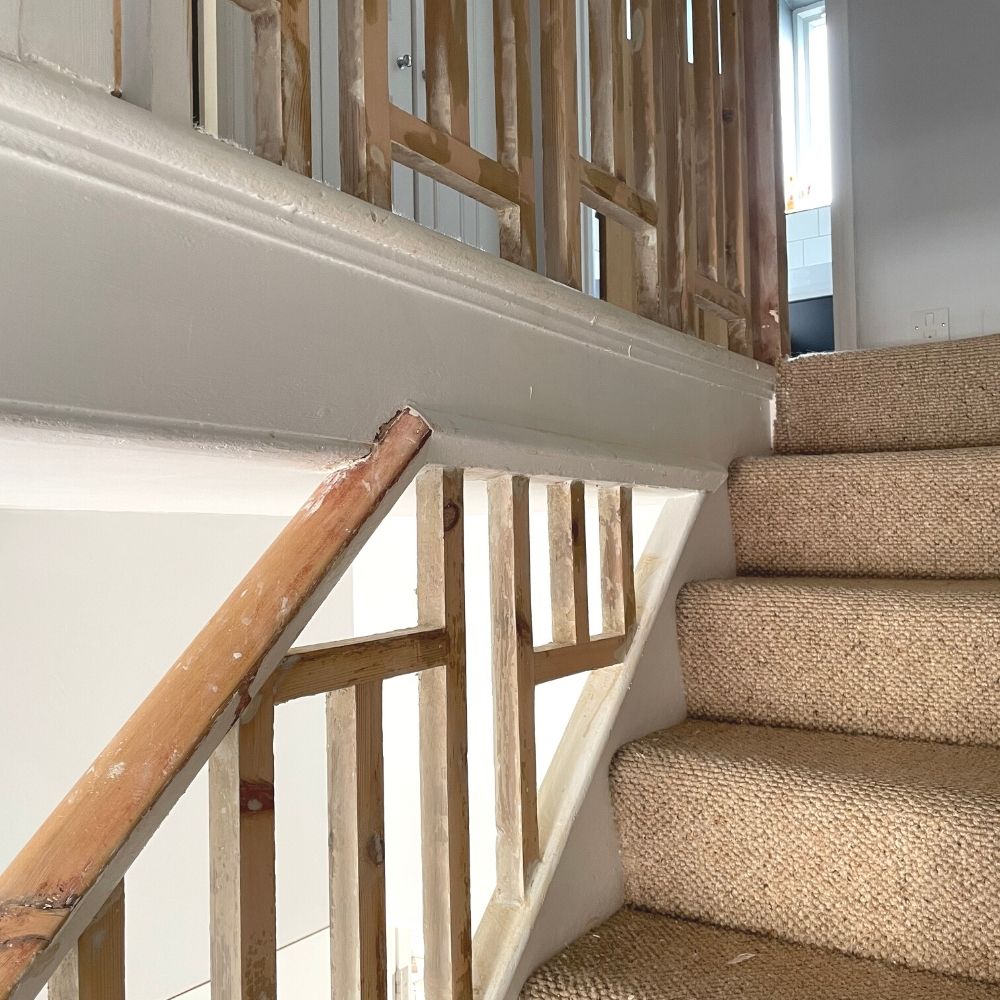
So why did we decide to strip the stairs….it’s simple really. I felt that the hallway and landing didn’t provide that welcoming wow factor feel that I’ve created in the kitchen and on our loft floor, it all felt a little lack lustre. I wanted our art deco spindles to pop against the light grey walls and I wanted the space to have all the impact that it deserved.
We could have just painted over what was there. However it was chipped, or had been chipped and then painted over with plenty of bumps and dips in it. We are also having a runner going up the stairs and the paintwork on the treads and risers was in a dire condition and needed stripping right back to be painted over, as it would have been impossible to paint over what was there and make it look good. We’re also painting it all in a colour match of Farrow and Ball Off Black which isn’t very forgiving so every dip and bump would easily stand out, and that is why I decided to strip it all off and start from the bare wood.
How I did it?
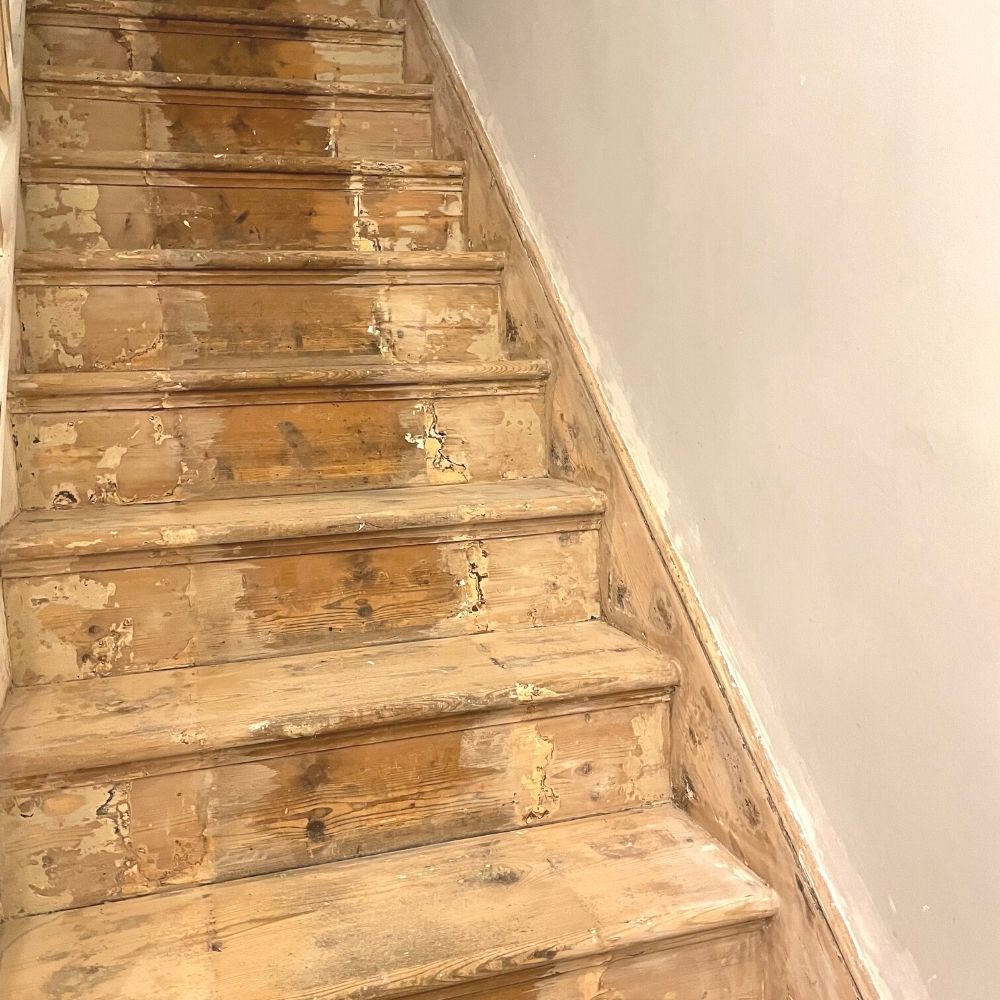
Starting in September 2021 I began this mammoth project of stripping off all seven or eight layers of 110 years worth of paint that contained lead from one flight of stairs, our landing and the stairs leading up to the loft.
There are many ways you can do this….
- Sand it off. Our paint contained lead so this wasn’t really an option as it would have created a lot of lead dust in the air which you need to be careful with. I did sand off any remaining bits once I had stripped it and I’ll talk more about that later.
- Use a heat gun. This was my initial idea at first. However on reading more about it I had my concerns about lead fumes and setting off our smoke alarms. Had we not had small children in the house I probably would have done it this way.
- Use a chemical paint stripper. This is what we did and I used a combination of Paint Panther and Kling Strip to remove the paint, with the bulk of it being removed using Kling Strip.
I’ll start with the Paint Panther that I used on the hand rail. I brushed this on and after a few hours you see the paint start to bubble and add more of the liquid to it. Then after about 6 hours I attempted to scrape it off, it kind of worked but it left a lot of the first layer of paint on the wood and just didn’t quite cut the mustard for our project. Do bear in mind that we have a lot of paint on our woodwork and I think that this product would be great for woodwork with fewer layers and less of the old thick lead paint.
It was at this point I decided to move onto the heavy stuff using Kling Strip from Strippers Paint Removers. It’s taken a bit of getting using too and I’ve become better at doing it the more I’ve used it.
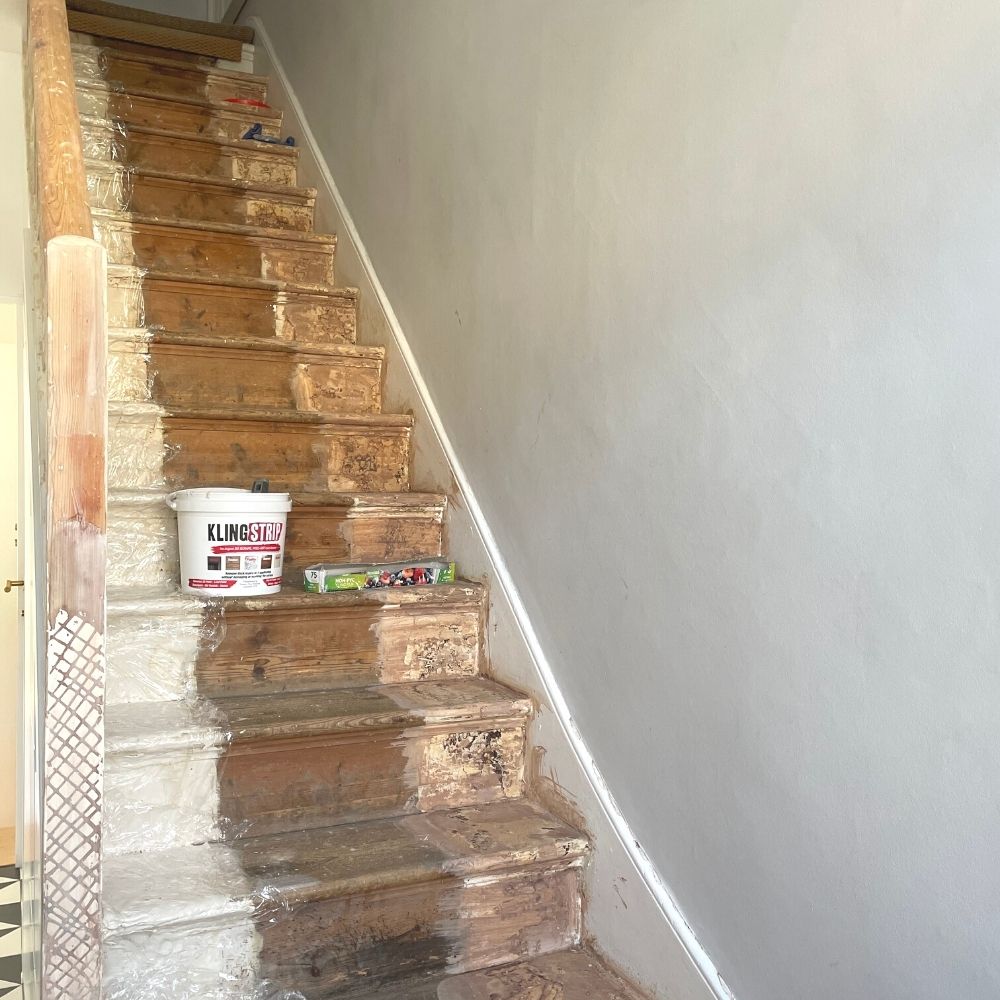
For what I’ve done so far I’ve got through three of the five litres tubs of Kling Strip.
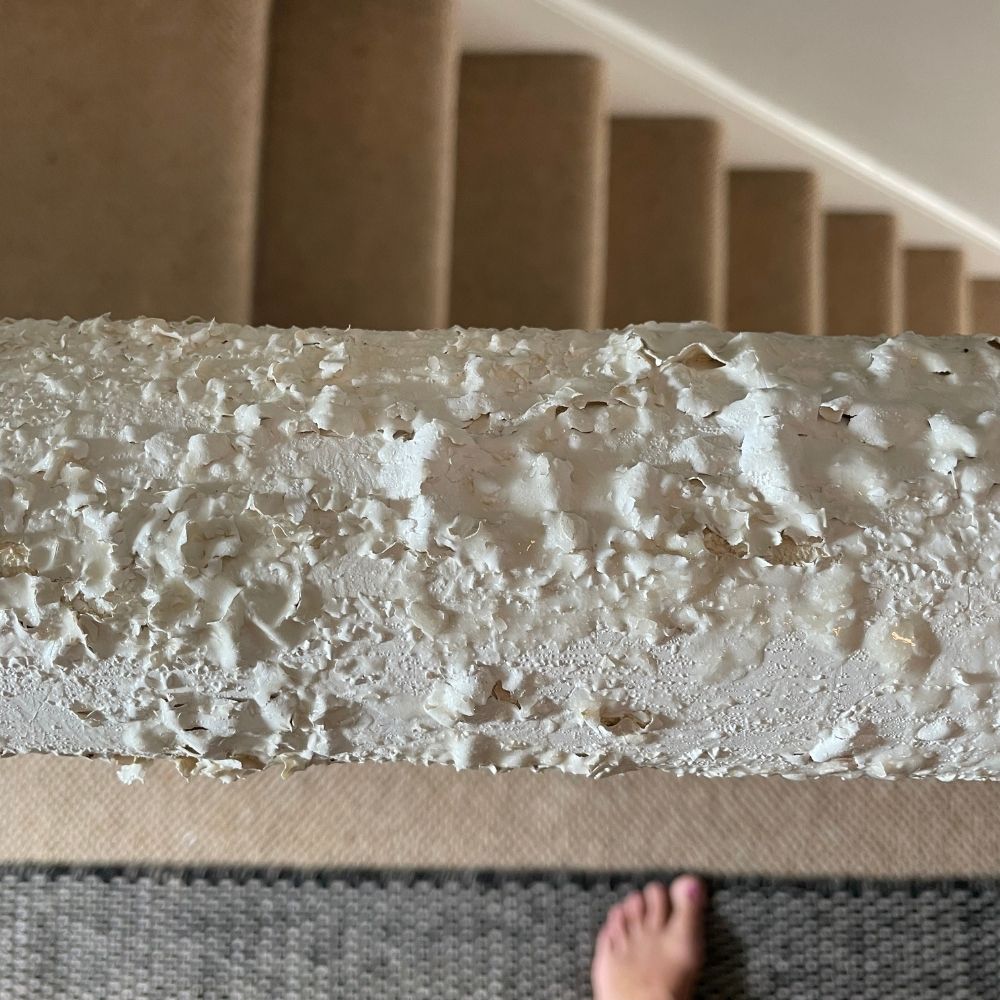
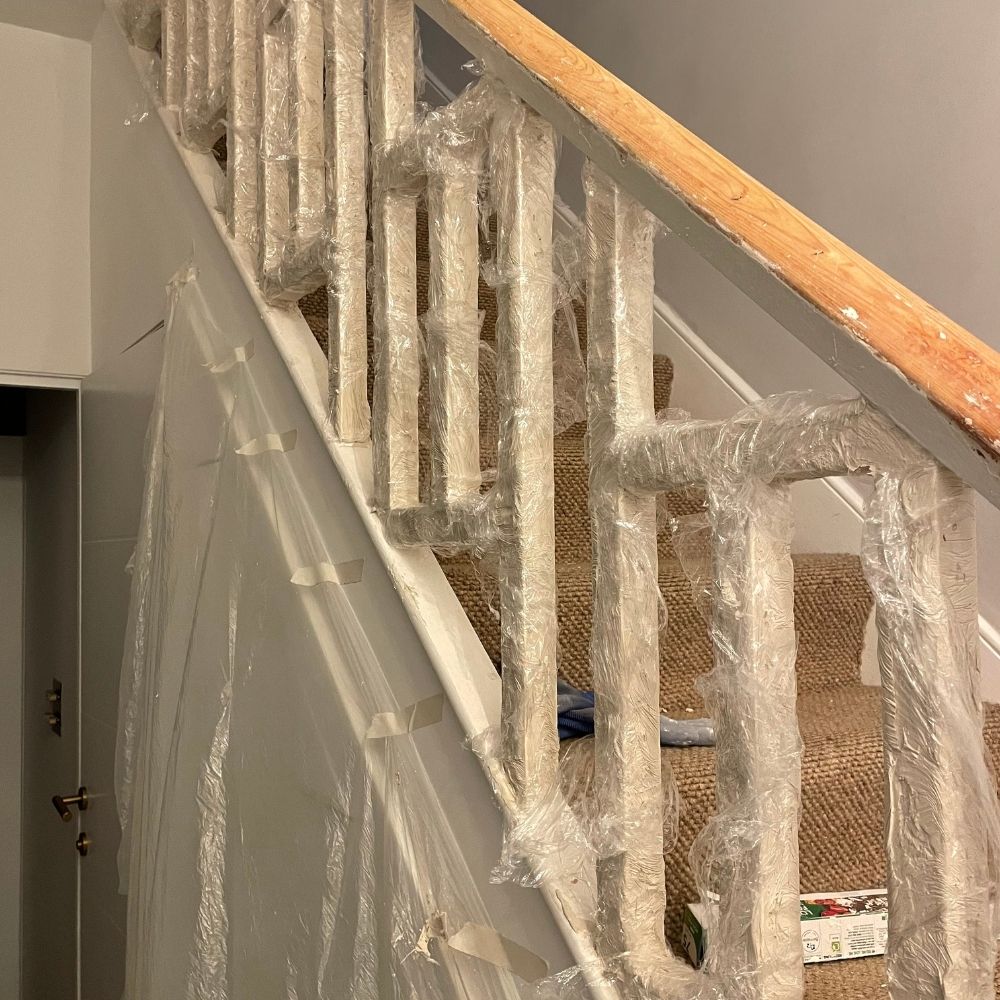
To start using the product you layer the Kling Strip onto the wood creating a 1cm covering which is a bit like icing a cake. I found that to be right amount for our paintwork which I know sounds like loads. Then once the Kling Strip is on I covered it in clingfilm and you can use ordinary supermarket clingfilm for this. I left this on for about a day which I then extended to two days before scraping it off.
Nothing is quite as satisfying as scraping it off along with all the old paint.
I’ll be honest here and warn you that this is an incredibly messy. I found that it was best to catch the scraped off Kling Strip and paint in an old tupperware and then empty into a black bag once the tupperware was full. The messiest of the messy stages is washing it down which makes even more of a mess from the residue and you’ll need to take your time with this.
You also need to wear gloves when scraping off the product and applying it, as I found that if it got on your hands it does start burning after a while.
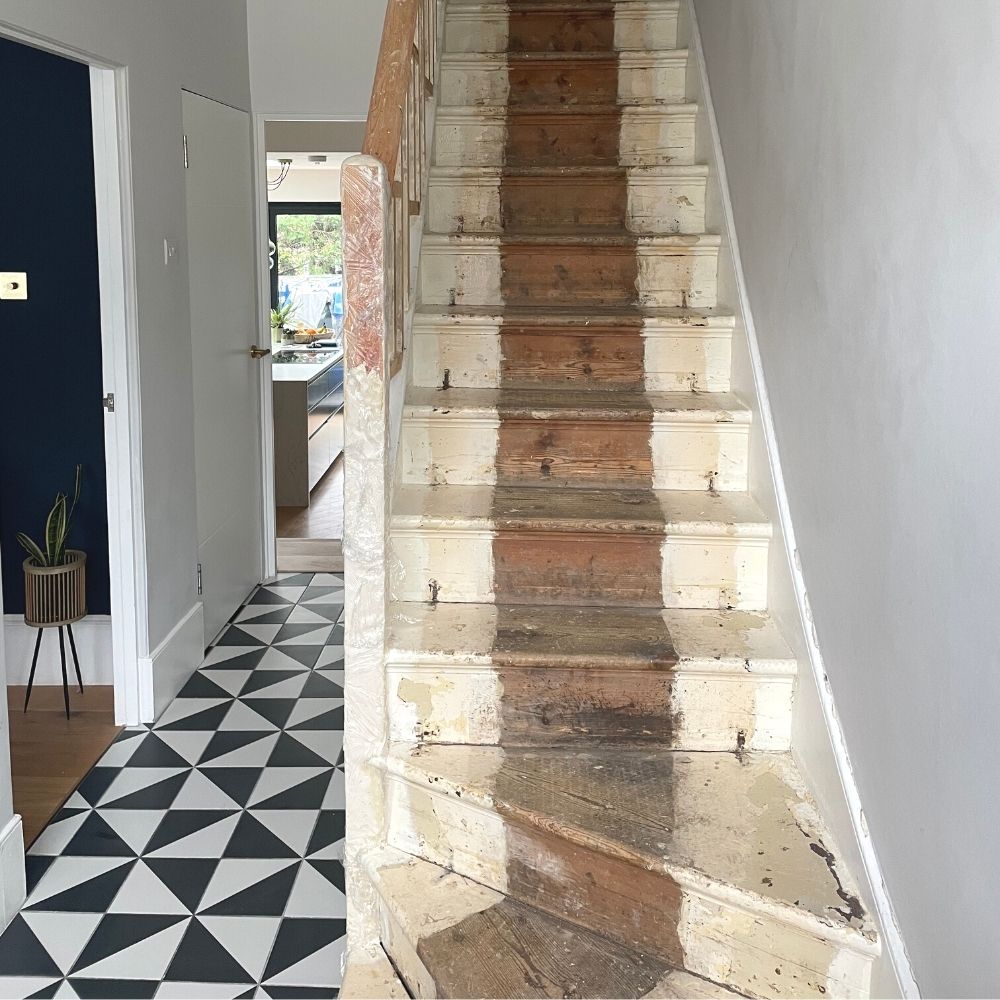
As you can see it was a mammoth job and a messy job, but also a hugely satisfying job. I’ve learned a few things about using the Kling Strip….
- Apply liberally. You’ll think you’re using loads and 1cm thick worked for me.
- Leave on for longer than you think. Towards the end of the paint stripping stage I was leaving it on for two days and that was pretty much taking most of the paint off. You will need to work this into your timeline and make sure it fits with your schedule.
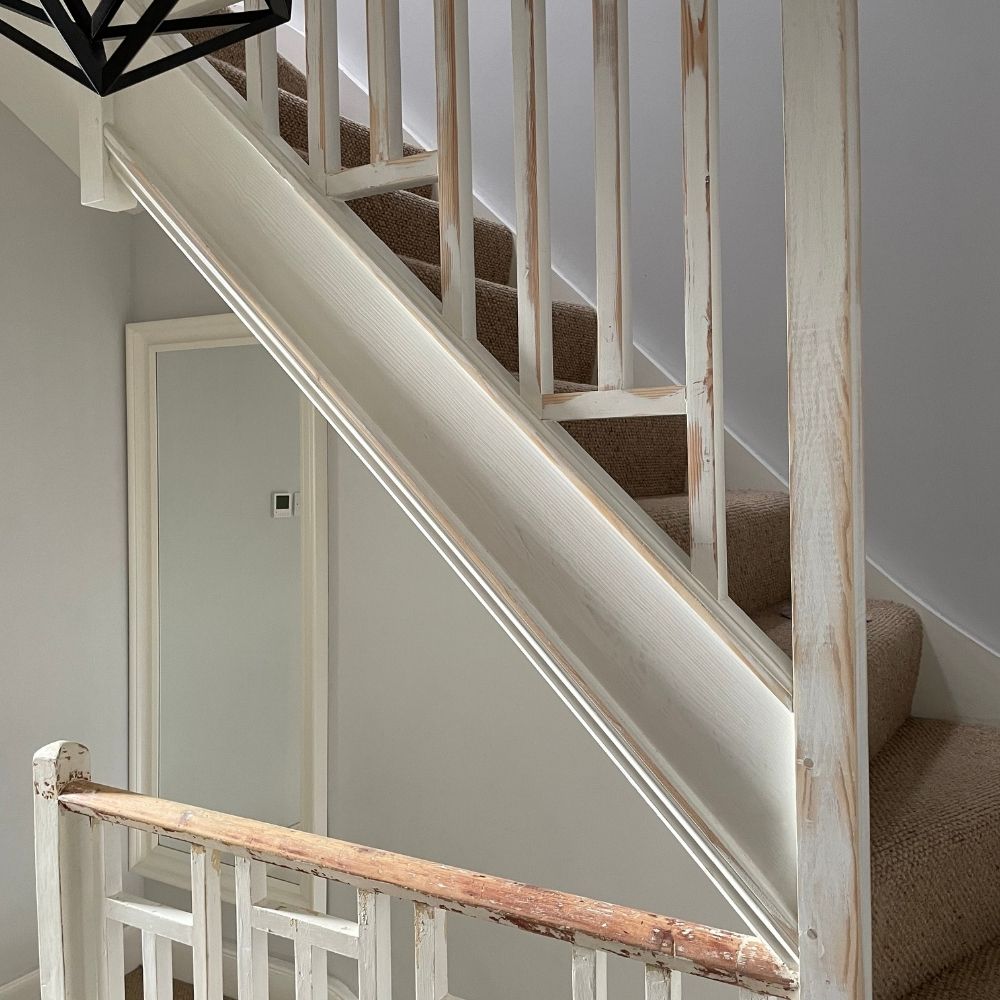
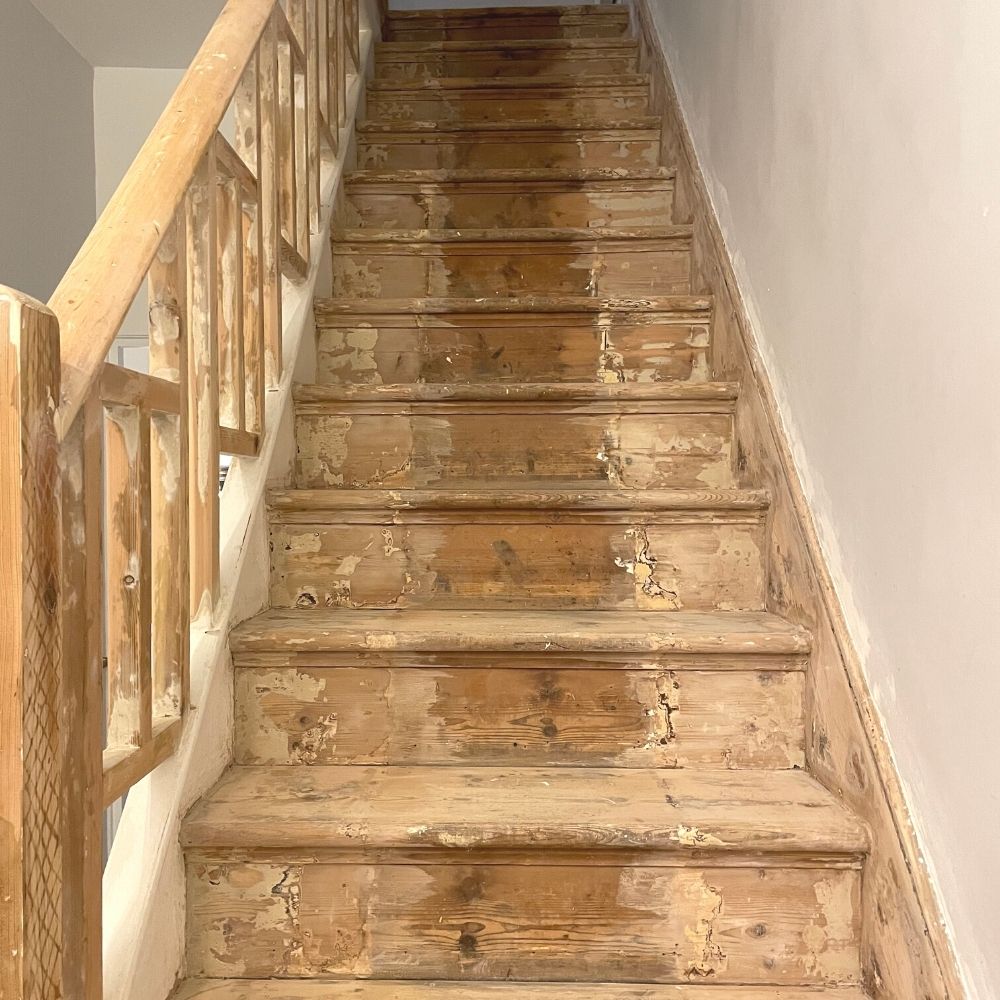
- Be prepared for mess. The worst part was scraping it off and then washing it down. Our woodwork had been previously stained or painted with brown paint and I felt like I was washing off brown paint forever and that’s why our woodwork looked a mess once it had been stripped.
- Be patient and keep a level head.
- Put your air pods and listen to music, and wine will become your friend.
The next step…..sanding.
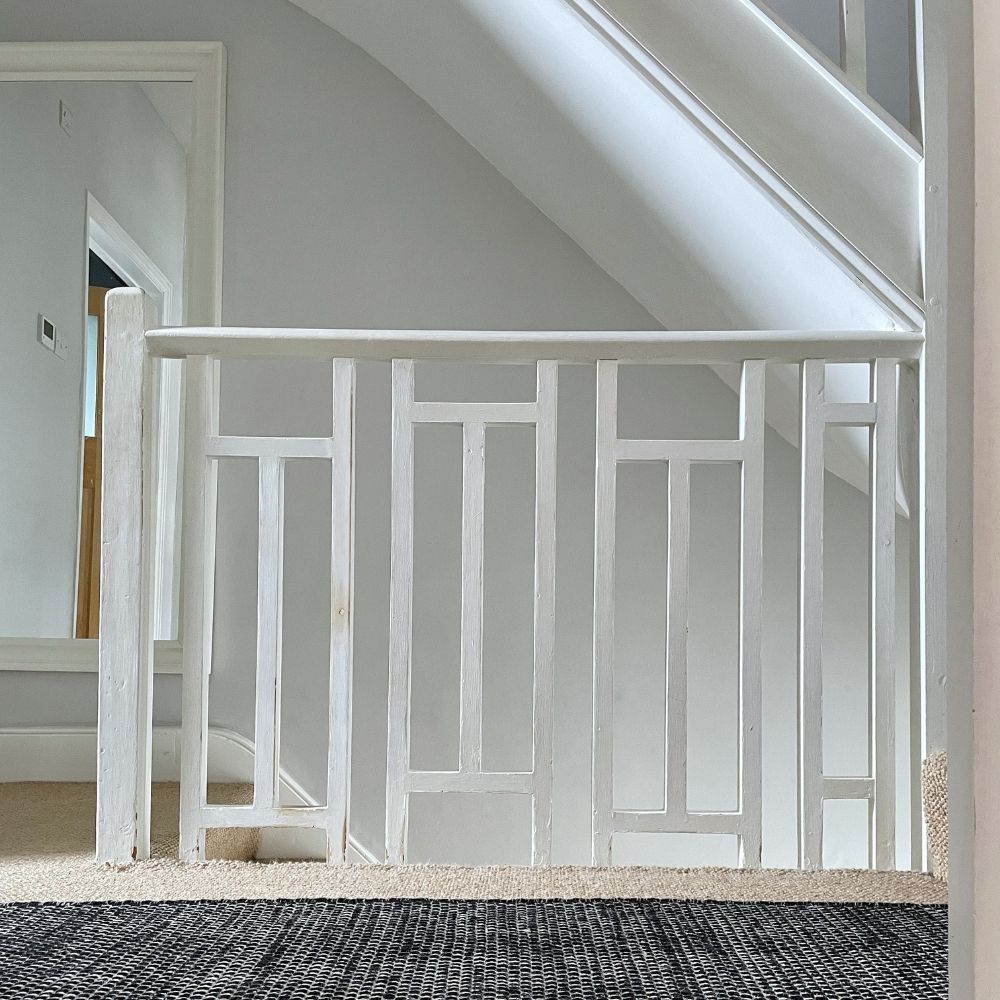
Once I had stripped the paint I then sanded all the wood. You shouldn’t really have to sand the woodwork after stripping however I wanted a smooth, sharp and defined finish and also I had any left over paint to sand off.
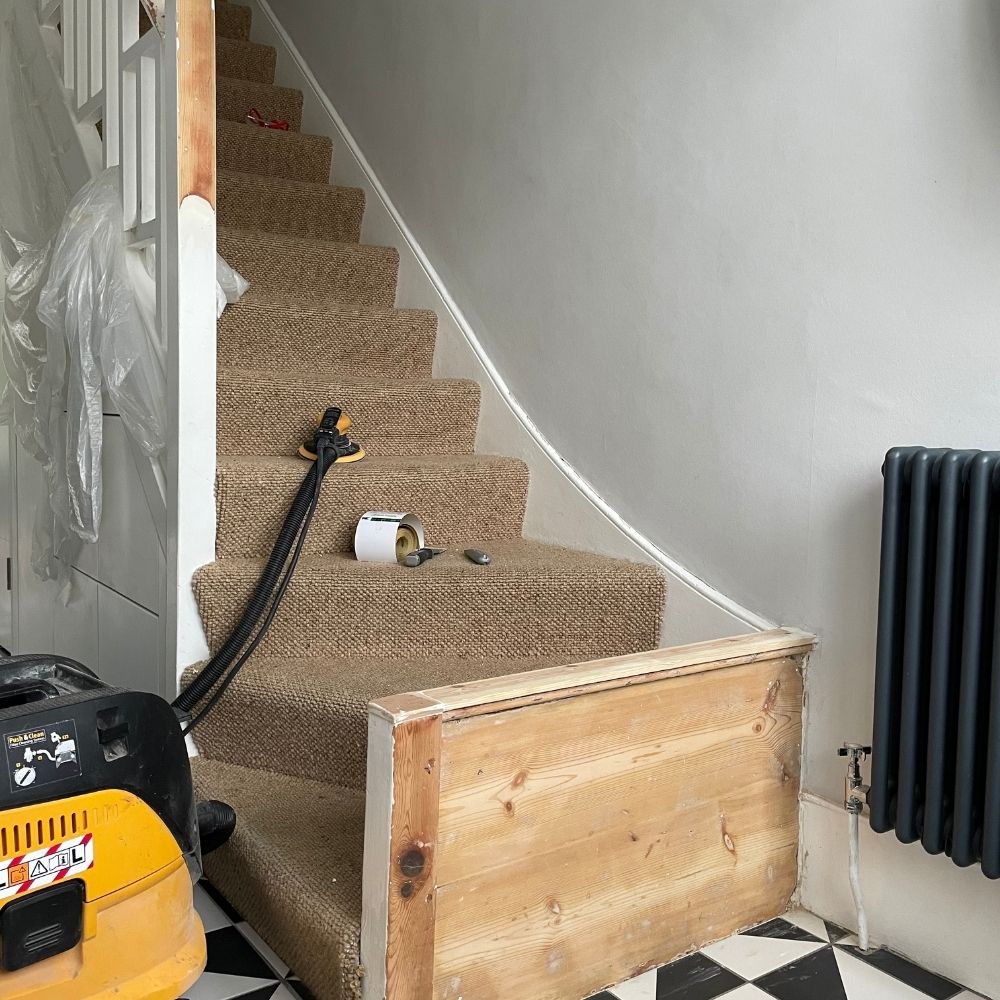
Luckily I have an amazing team of builders who lent me their industrial sander with a hoover attachment which meant that minimal dust was released into the house and it sped up the job. My aim was to also make our square edged spindles as sharp and as smooth as possible, and it helped to do just that.
You may be wondering why I didn’t just sand it all off all using the sander? It would have taken a long time as our paint was about 2 to 3mm thick in patches which would have taken forever to sand, it would have been tricky to sand underneath the treads where the detailed edge is and I wouldn’t have any arms left if I had sanded it all.
However I did spend hours sanding the newel posts, the spindles, the treads and the risers, and the end panels with 80 grit sanding discs, so much so that my entire arm was tingling afterwards.
The stairs to our loft are only 7 years old and didn’t require a full paint strip job and with these I gave the newel post, handrail and spindle a light sand. Here we’re going with a full width carpet instead of a runner so the treads and the risers are fine to leave as they are.
Skirting Board
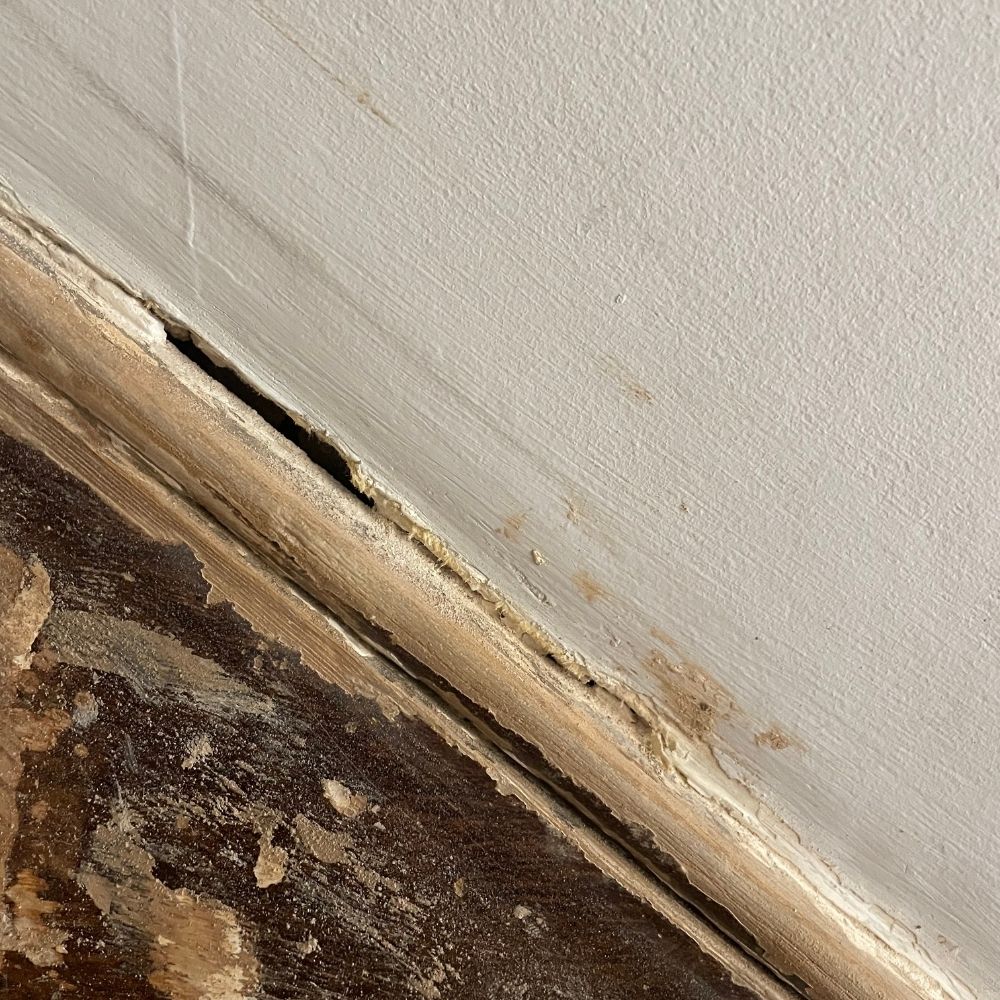
I’ve created a separate section for this as this part caused a bit of panic. I wasn’t going to take the paint off the skirting but in the end I decided to do it. Mainly because it had lost its definition and also because I wanted to create the square edge against the wall as previously the paint sloped up away from the skirting to meet the wall. There was a reason for that and that was because it was hiding 1cm holes between the skirting and the wall. Uh oh! This was where it was really useful to have our builders on hand who advised me to fill with expanding foam, cut it back and then fill with Tetrion, which did the trick, and I now have a skirting that is perpendicular to the wall and so much sharper. So the lesson learned here is to trust your instinct and not to panic, there’s always a way that something can be fixed.
Next up is painting and I’ll be sharing more in another blog post coming soon. I really hope you found that useful and I’d love to hear if you’ve ever done this crazy project too!
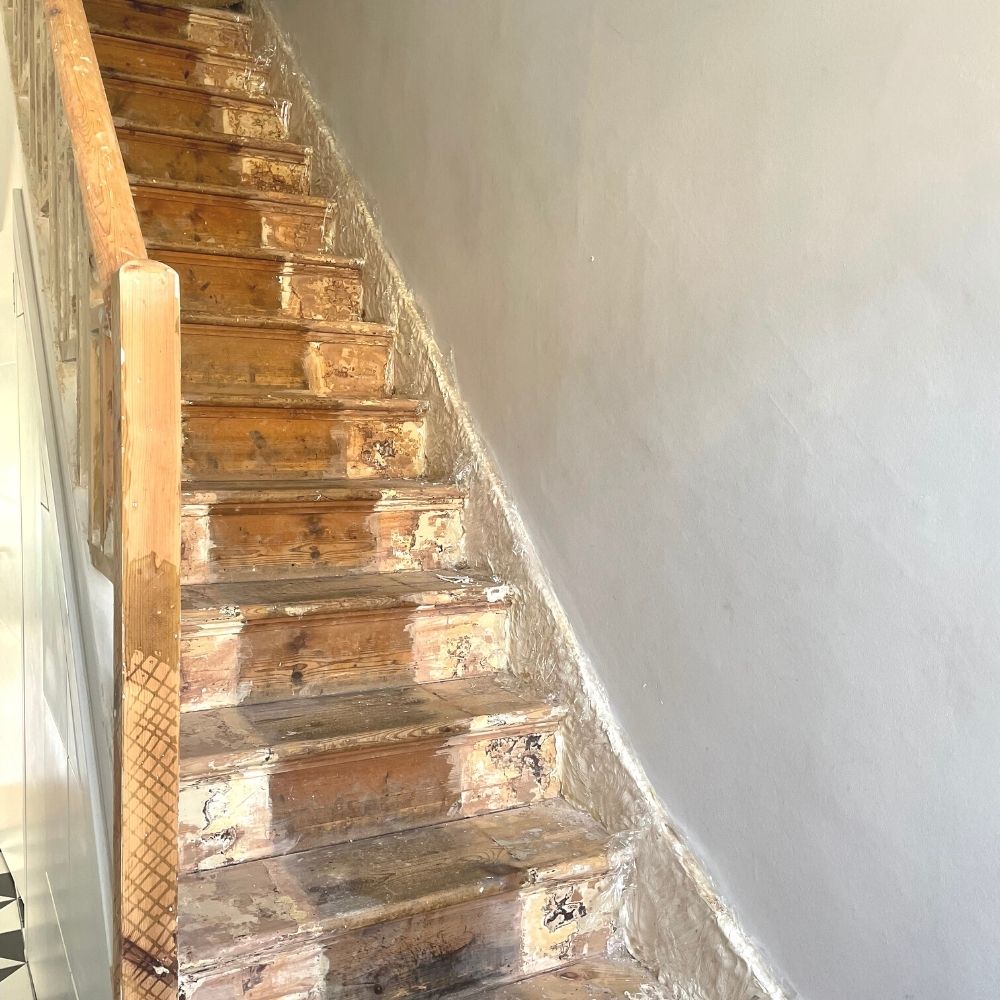
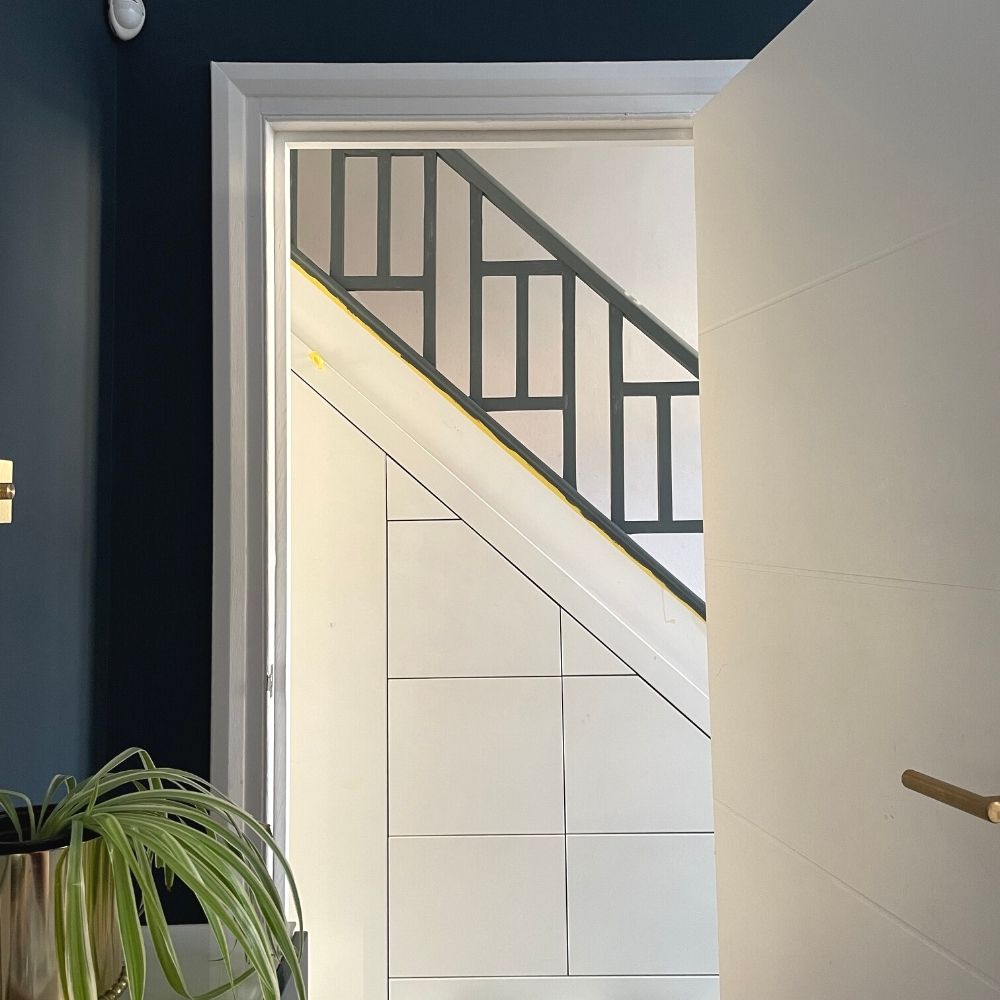
For now here’s a little sneak peek with the spindles painted in the Dark Grey undercoat…
Claire x


You May Also Like

Want To Turn A New House Into A Welcoming Home? Read This Guide Now

What’s next for me….Interior Design.