The design and build of our gin terrace
Who adds a gin terrace to their garden? Me. I’m not even sure when the project name switched from Pergola to Gin Terrace, I think I may have started calling it that when our builders were pricing the job and the name stuck. Pergola no more, gin terrace it was.
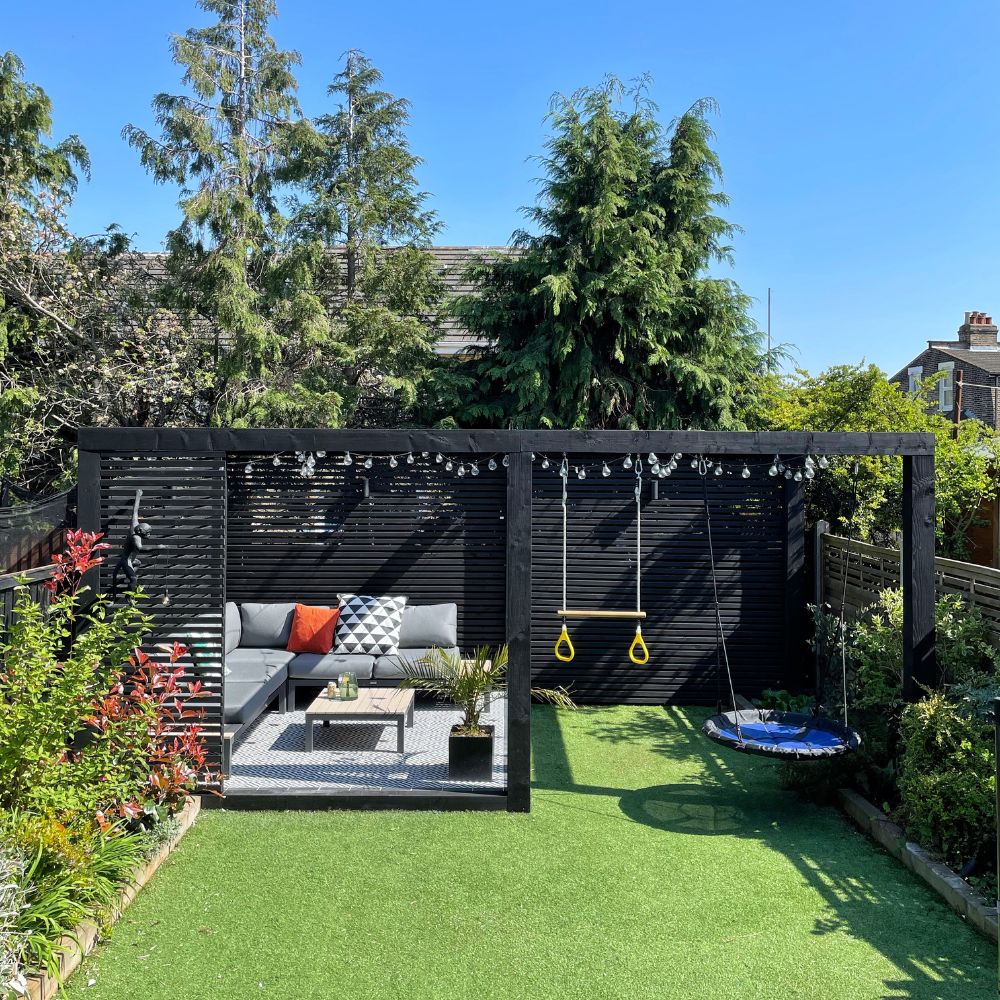
I couldn’t be happier with what we have created at the bottom of the garden, it’s perfect. The bespoke design sits in the sunniest spot in the afternoon and neatly frames the bottom of the garden whilst adding height that our garden was lacking.
So here’s all about why we did it, the design, how it was built, a little bit about the lighting and power, and the end result!
Why did we design and build a gin terrace
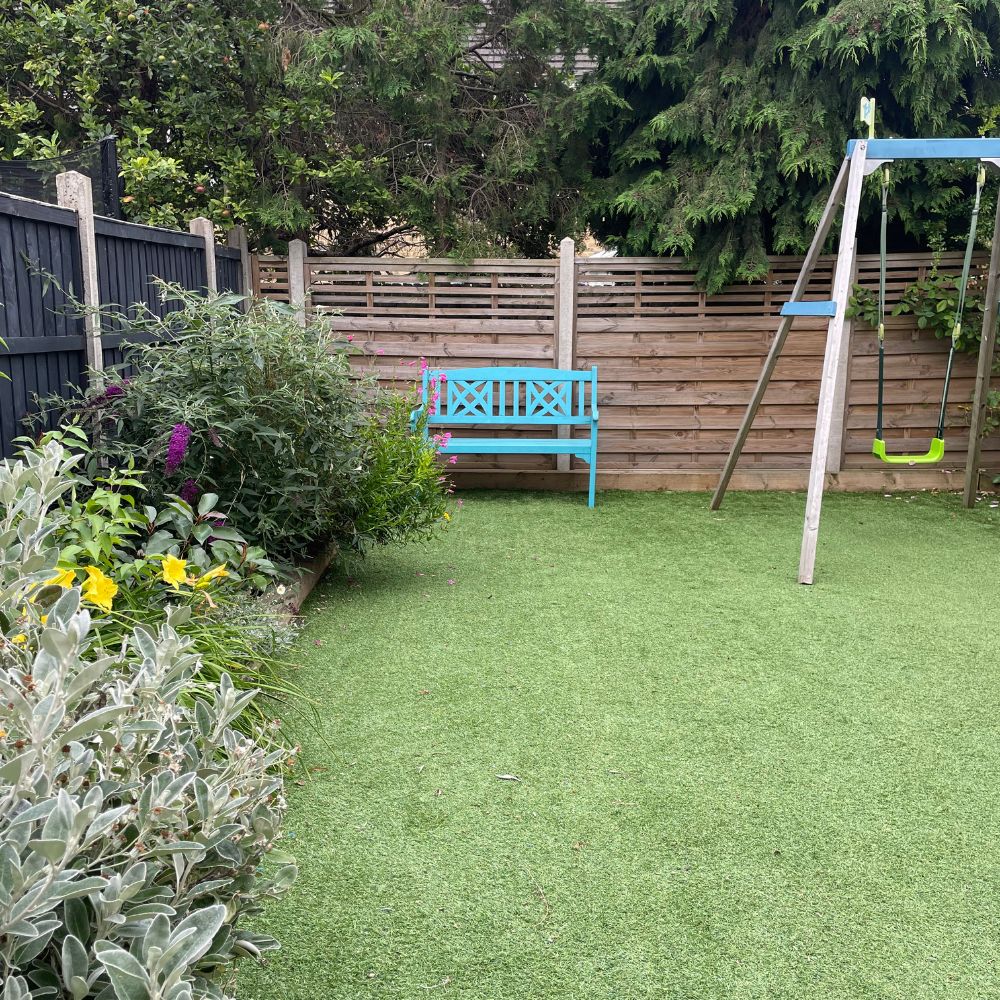
You could say that Instagram inspired me and I was inspired by Instagram. However the need for creating and building something at the end of the garden was becoming more and more apparent the longer we lived here. In the spot where the gin terrace sits now used to be a shed that we removed during our extension build and garden renovation three years ago when we added two borders either side and replaced what was left of the grass with faux grass.
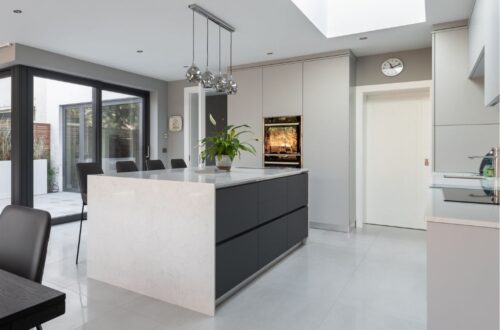
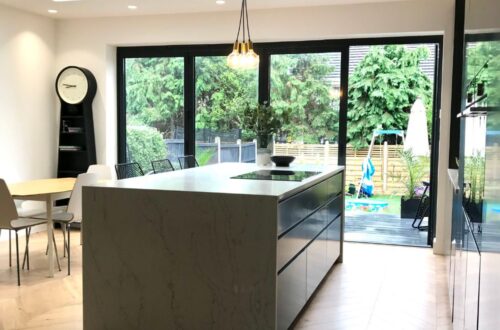
Since doing this we found this area is the sunniest in the afternoon and the last place to get the sun at the end of the day which makes it ideal for a seating area. This is because as the sun moves over the house we loose it from the kitchen and our decking from about 2pm. So it made total sense to place an outdoor comfy seating area here.
The other reason for building it is because our garden lacked any sort of height. We have no trees, and at times felt a little overlooked by the house at the end. We haven’t got blinds on our kitchen bi-folds and during the winter months we could see right into their house and probably vice versa too. The slat walls of the gin terrace add the height and depth to our garden that we were previously lacking.
So those were the three main reasons why we decided to update our garden and build a gin terrace.
The design
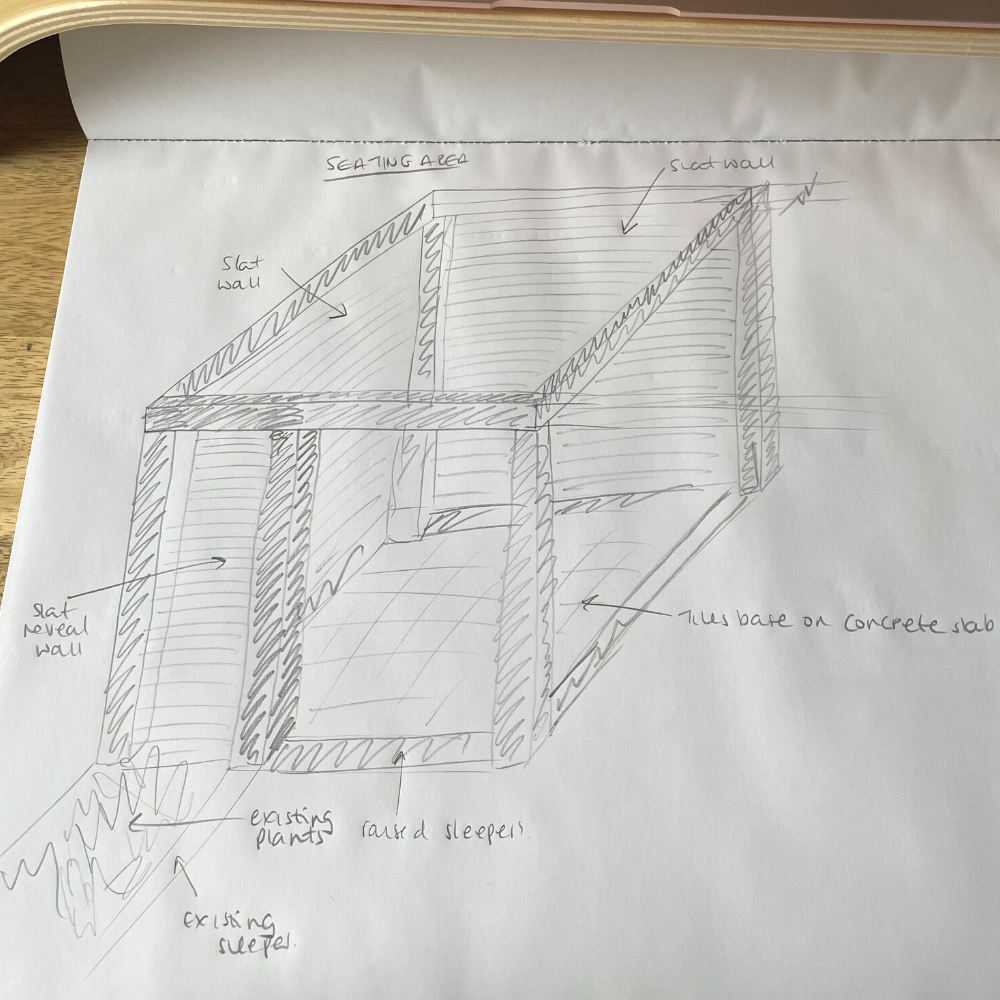
I started designing it in June last year (2021) and there was many iterations before arriving at the final layout and structure. The main features I wanted in the design were:
- A tiled based because I had the tiles leftover from the front path.
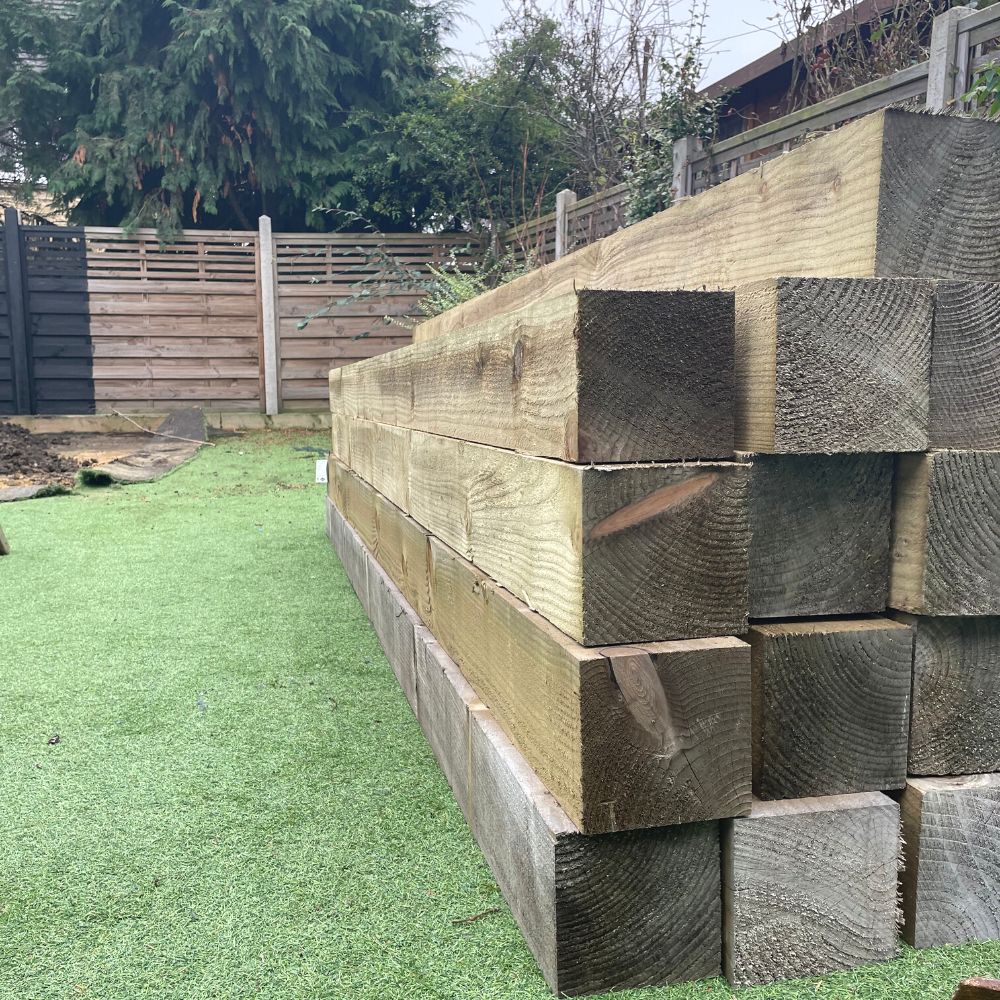
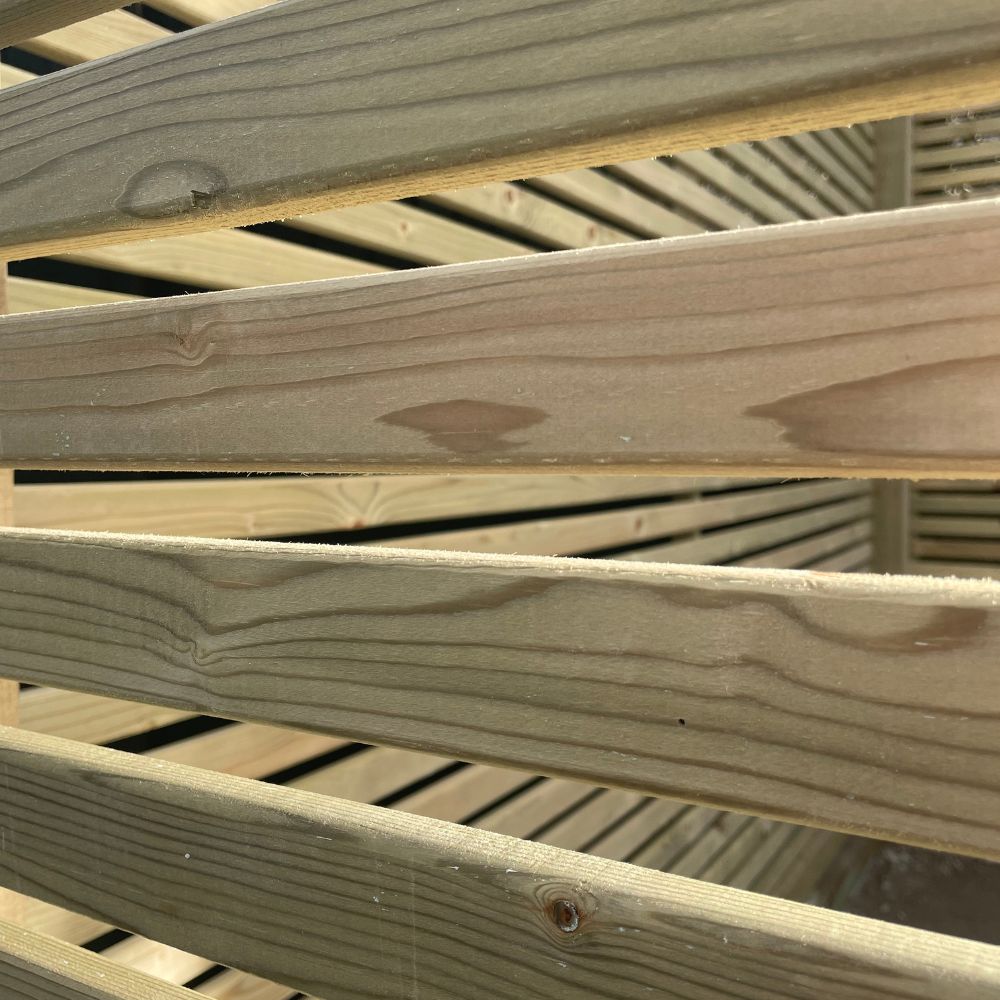
- The chunkiest timbers that we could get our hands on.
- Black linear lines to compliment the interior style within the house
Although the garden is a separate space to the house, when it comes to consistency joining everything up is really important to me, and having black linear lines running across the structure was an element similar to our reeding panelling in our loft bedroom and vertical tiles in our loft bathroom. I did ponder at one stage whether the black slats should be vertical or even diagonal!
Before deciding on the final design and layout, I created two versions of the design, one being slightly cheaper than the other as it involved less materials.
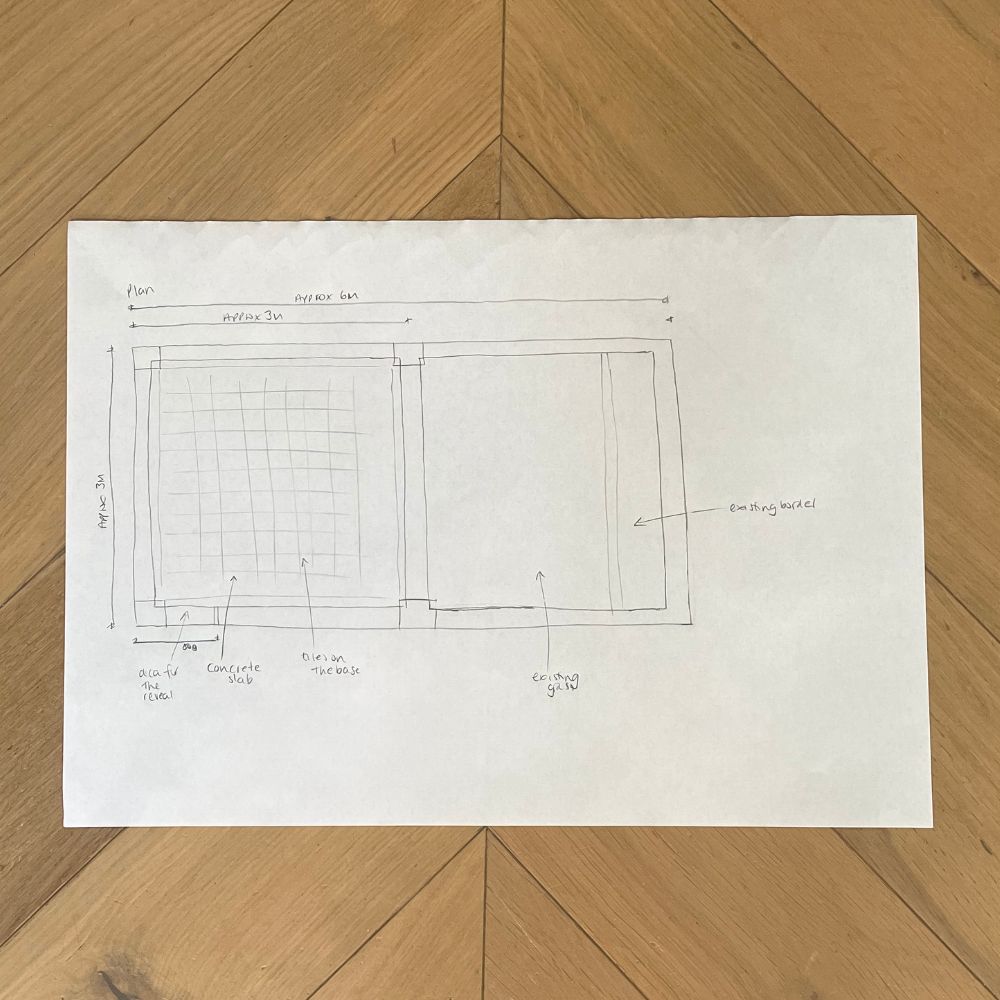
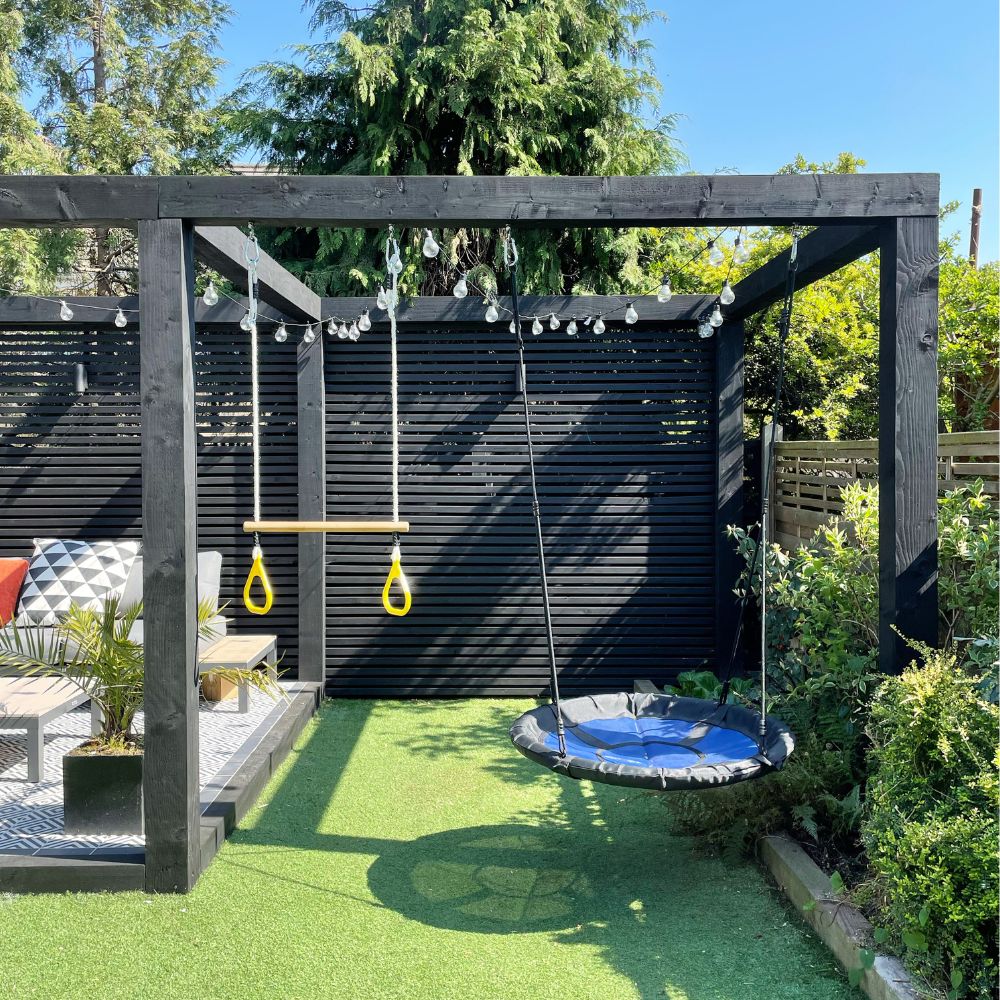
The first design was just a seating area on the left hand side of the garden. The second was my preferred option where the chunky timbers framed the entire garden helping to add height and create some additional architectural interest. Luckily we managed to make the second option work to include a seating area on the left hand side, timbers spanning the full width and a kids play area on the right hand side. I decided to use one of the timbers as a support bar for kids play equipment to free up some of the space that our freestanding swing was taking up elsewhere in the garden.
Here are my hand drawn designs of our gin terrace that we based the build on, and of course I made some changes to it mid-build once I saw the structure going up.
The build
We started build in January after waiting months for the timbers – there became a point where I really didn’t think it would be ready for summer! But mid January work started and it was an amazing day when those 13 chunky timbers arrived. Never have I been more excited to see a delivery lorry!
The build of my bespoke design was completed by our builders MPRM Design Build who also completed our kitchen extension and our loft refurbishment too, so it made total sense to ask them to build our gin terrace too as we have the relationship and trust, and I knew I would get a quality finish. All very important when it comes to choosing a builder.
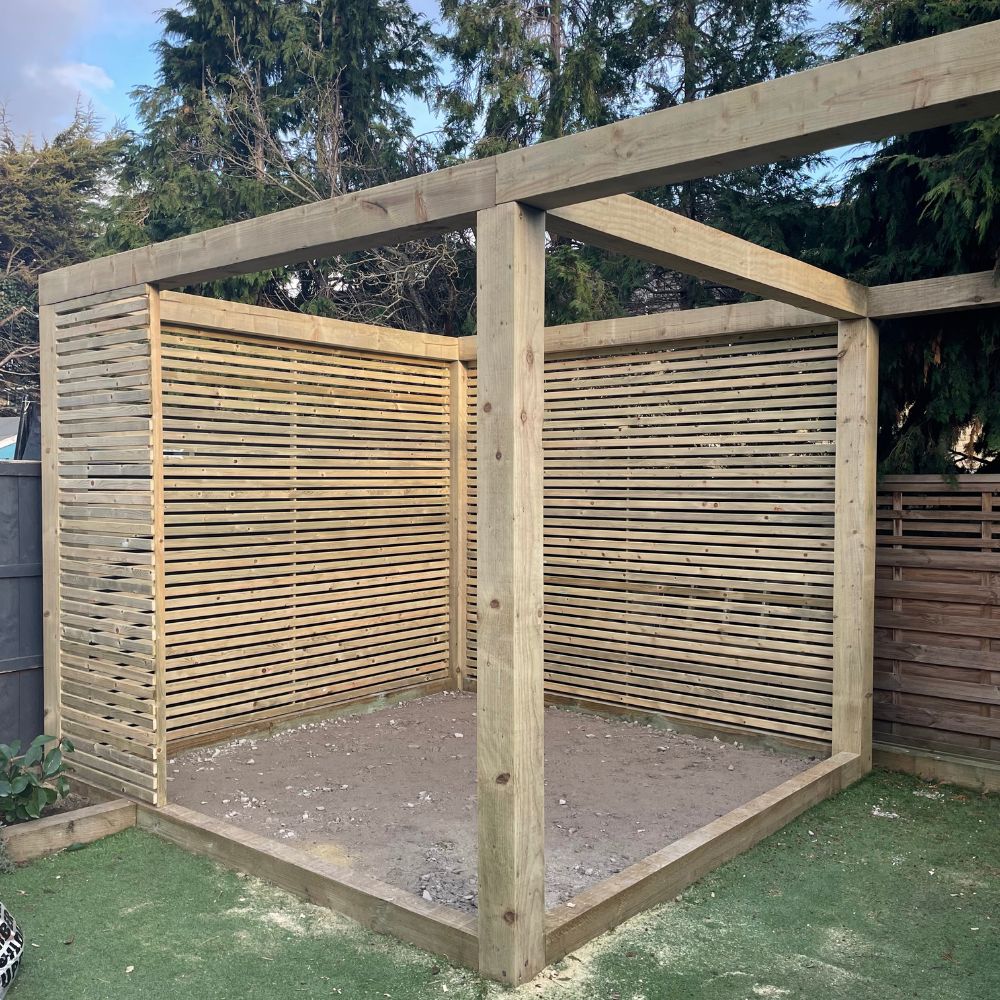
To start the positioning of the 6 upright timbers were set out, the sleepers from the old border removed, the grass cut back and the 6 holes were dug down to about 40 centimetres deep for each timber. Then the 3m tall timbers were set in place and concreted in to create what looked like the start of a go ape course. Then sleepers were placed between the four posts on the left hand side to create the start of the seating area and to act as a frame for the concrete to be poured within.
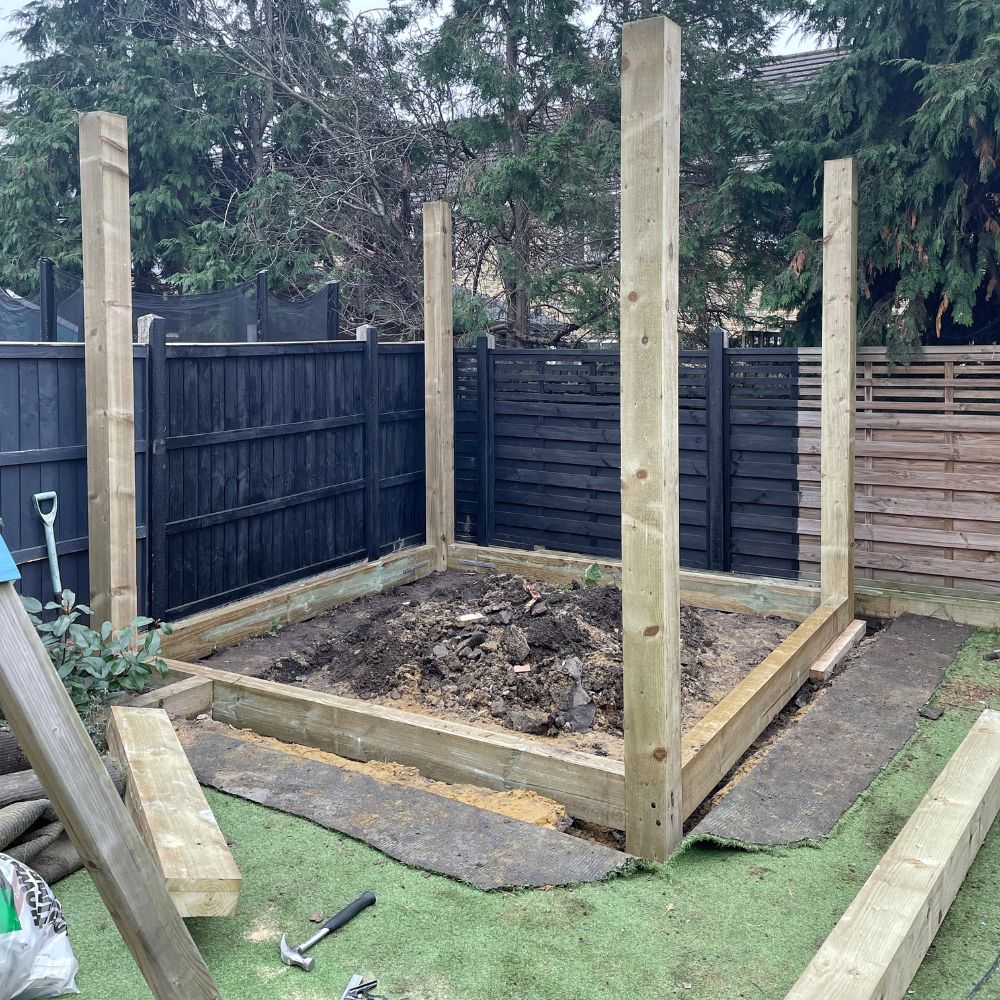
These timbers were then cut to the right height to ensure that when the top horizontal timbers were put into position the max height of the gin terrace was 2.5m high and no more. (This is the max height for a garden structure within 2m of a boundary under permitted development, and if you’re in a conservation area you will need planning permission for something like this to be built). Our builders worked out some clever joins between the timbers to avoid them being seen from the front face with the exception of the join over the central post where two 3m timbers had to meet to span a 6m width.
Then the seating area base which was about 20cm deep was filled about halfway with hard core and the concrete poured on top. Luckily we didn’t need a concrete pump lorry to do this and the concrete was mixed by hand, with enough space leftover so when the tiles were installed they would sit flush with the top of the sleepers.
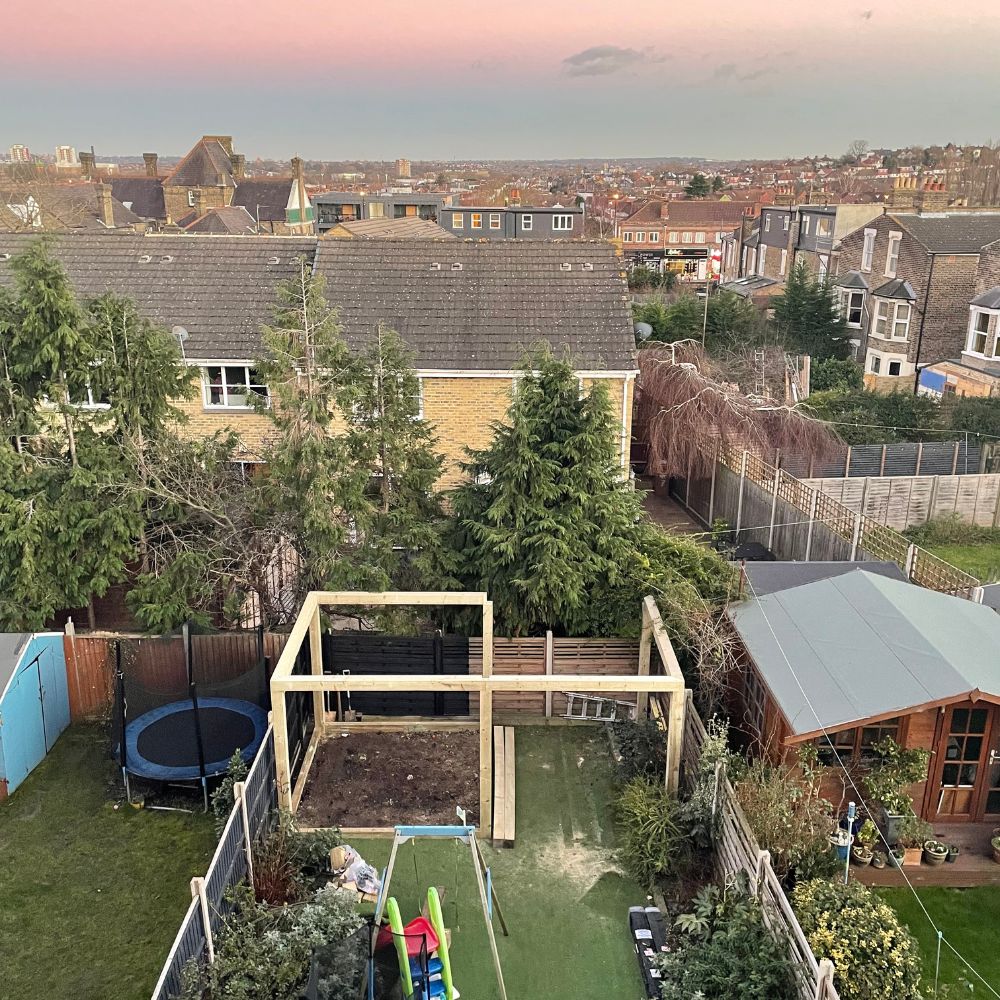
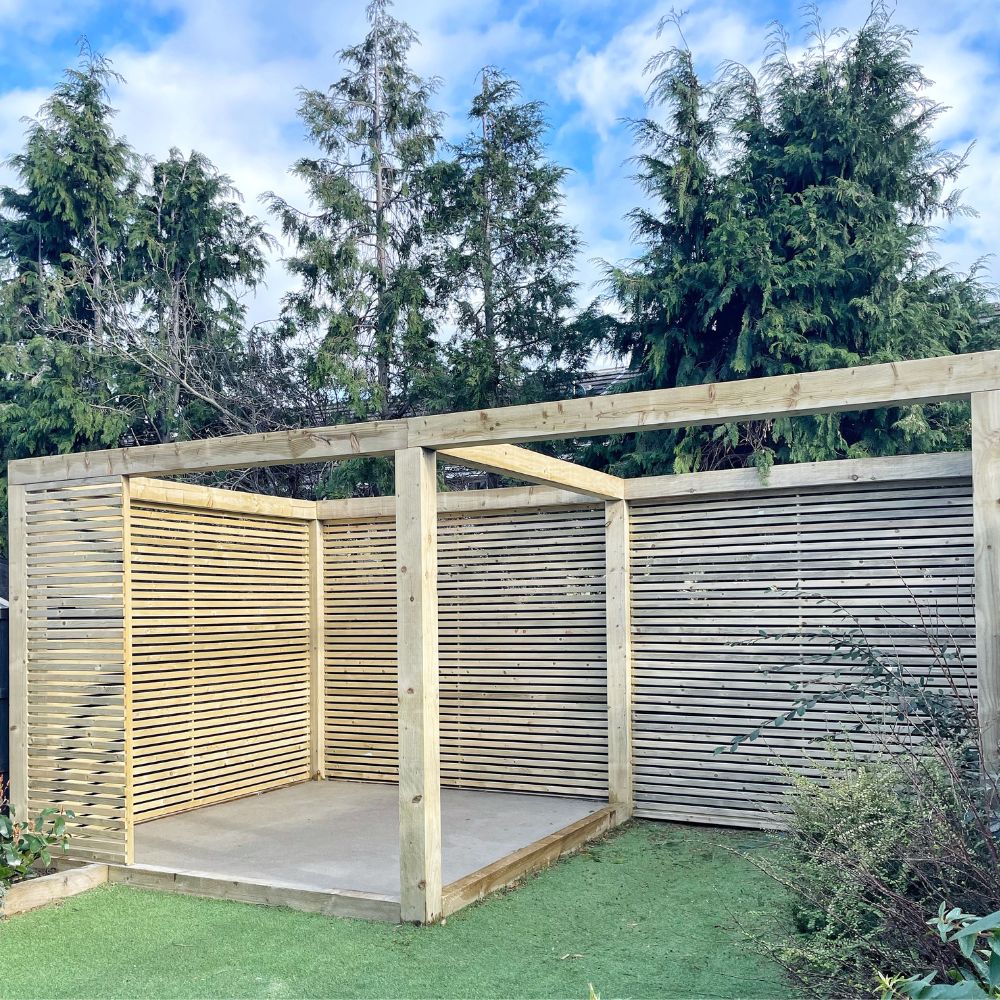
Next up the timbers slat were added to the left side and back, and the reveal was built to create a private-ish seating area. It was at this point that I made to change to the original plan and decided to add timber slats across the full width because it looked odd seeing the existing fence. This wasn’t a problem for our team, just more materials and labour, and a little more cost for us, but all totally worth it and it was the right decision to make.
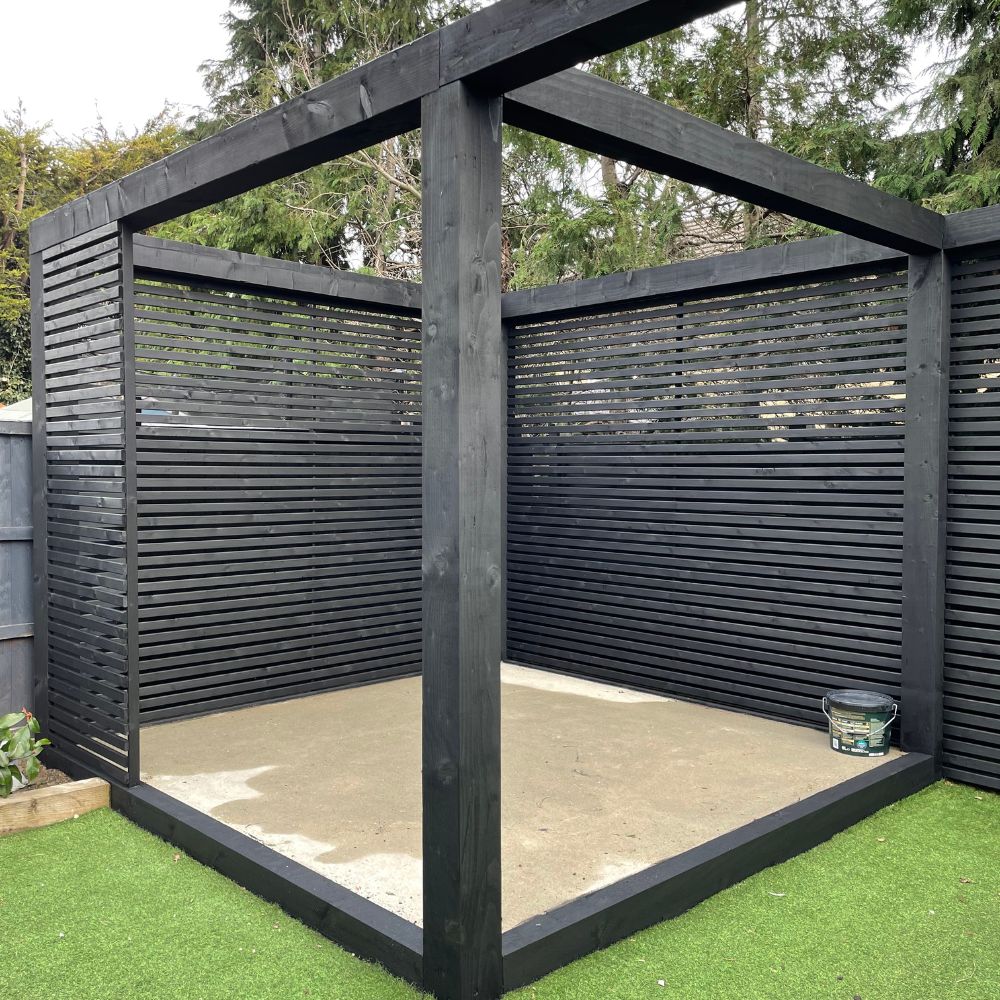
Once the structure was built the timbers were painted black with Cuprinol Ducks Back in Black and this was when it really started to look good. It was a little bit of a shock going from timber to black as the structure kind of disappeared, but it was the right thing to do as the timber would have eventually greyed over time which was something I really didn’t want.
Next up all the electrics were installed and I’ll talk more about that later sharing what lights we have in the gin terrace area and in the garden.
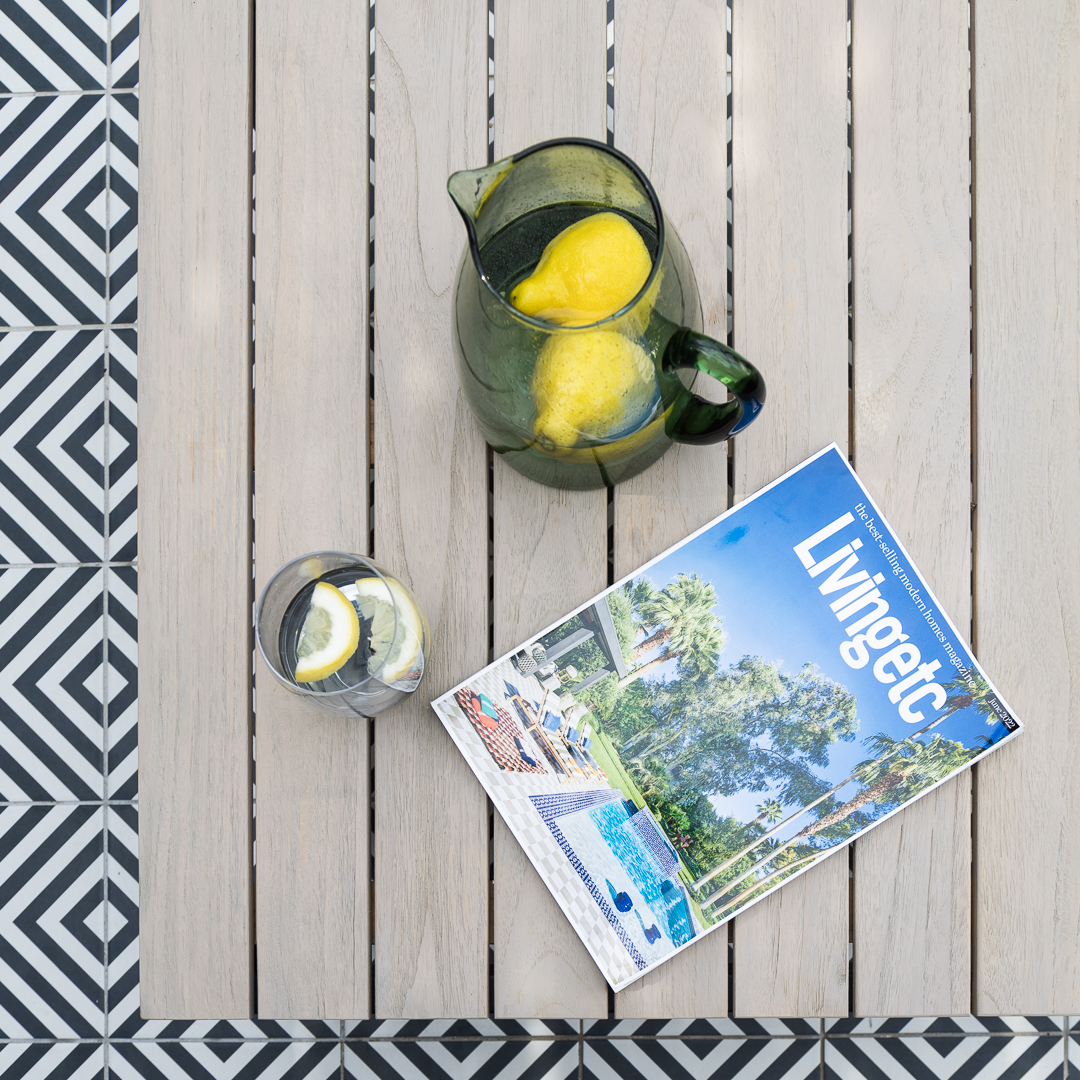
The last job of the build was tiling the base flush to be flush with the sleepers. This was tiled with the Harlequin tiles from Mandarin Stone however these are now no longer stocked. I decided to use these tiles to match our front path for consistency and because I had plenty leftover. Due to the tile pattern I didn’t want the tiles to be cut, so to fill the gap between the patterned tiles and the sleeper we placed a cut to size plain black tile from the same collection ensuring that it matching the patterned tile. I can’t take credit for this idea as it was our builder who suggested it.

The lighting and power
I’ve created a separate section for this as it started simple and it then become more complicated once I started to work out the lighting plan before the build started.
There are three parts to it.
- Spike lights in the garden border and wall lights on the gin terrace slat walls that are switched on and off from a switch in the house.
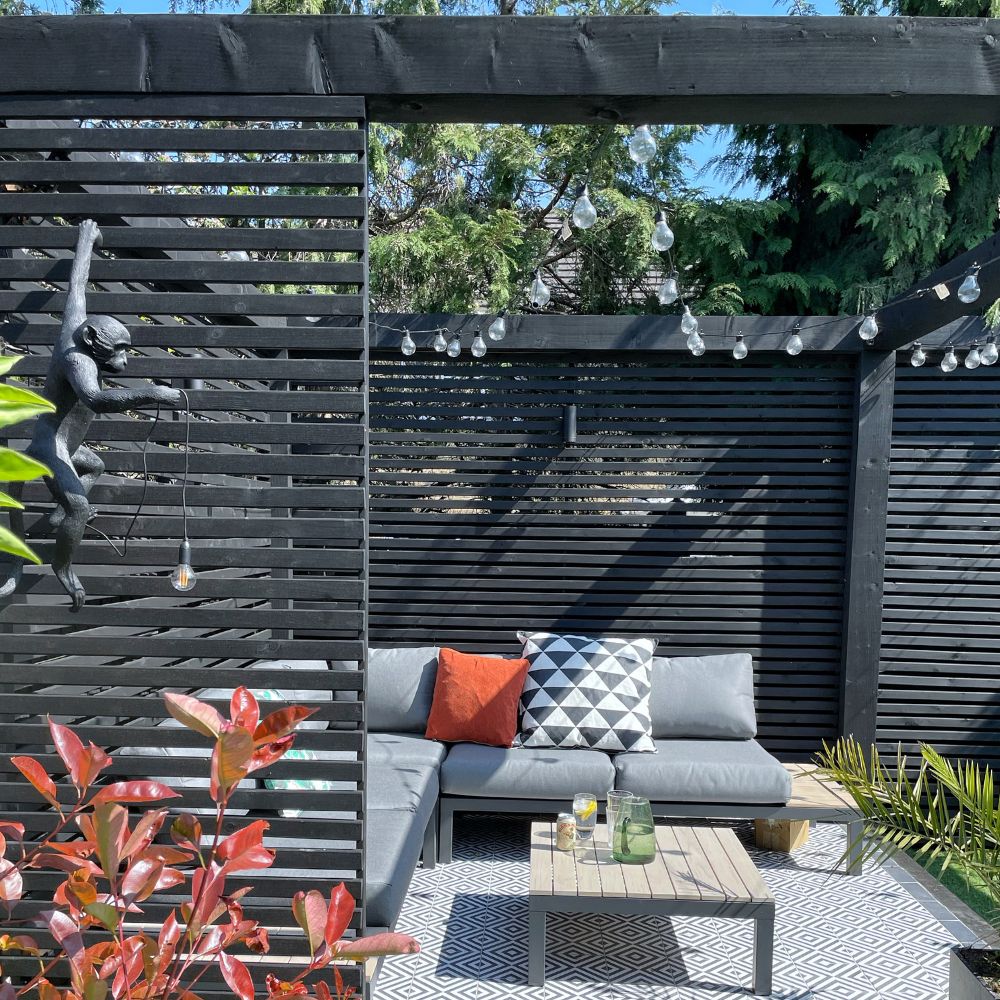
- Festoon lights and Louie the monkey light that are powered by a high level double socket that’s also switched on and off within the house too.
- Another double socket at a low level for things like your phone charger etc.
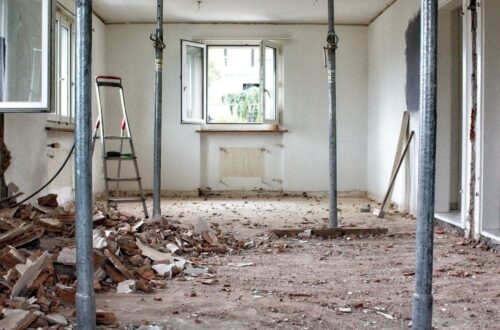
When we did the extension we future proofed the garden by placing a junction box on the back of the house connected up to a switch by our bi-fold doors that we could use should we ever place lighting in the garden. If you’re renovating and thinking about updating your garden at a later date or adding lighting in the future, think about doing something similar to what we did and future proofing it.
The end result
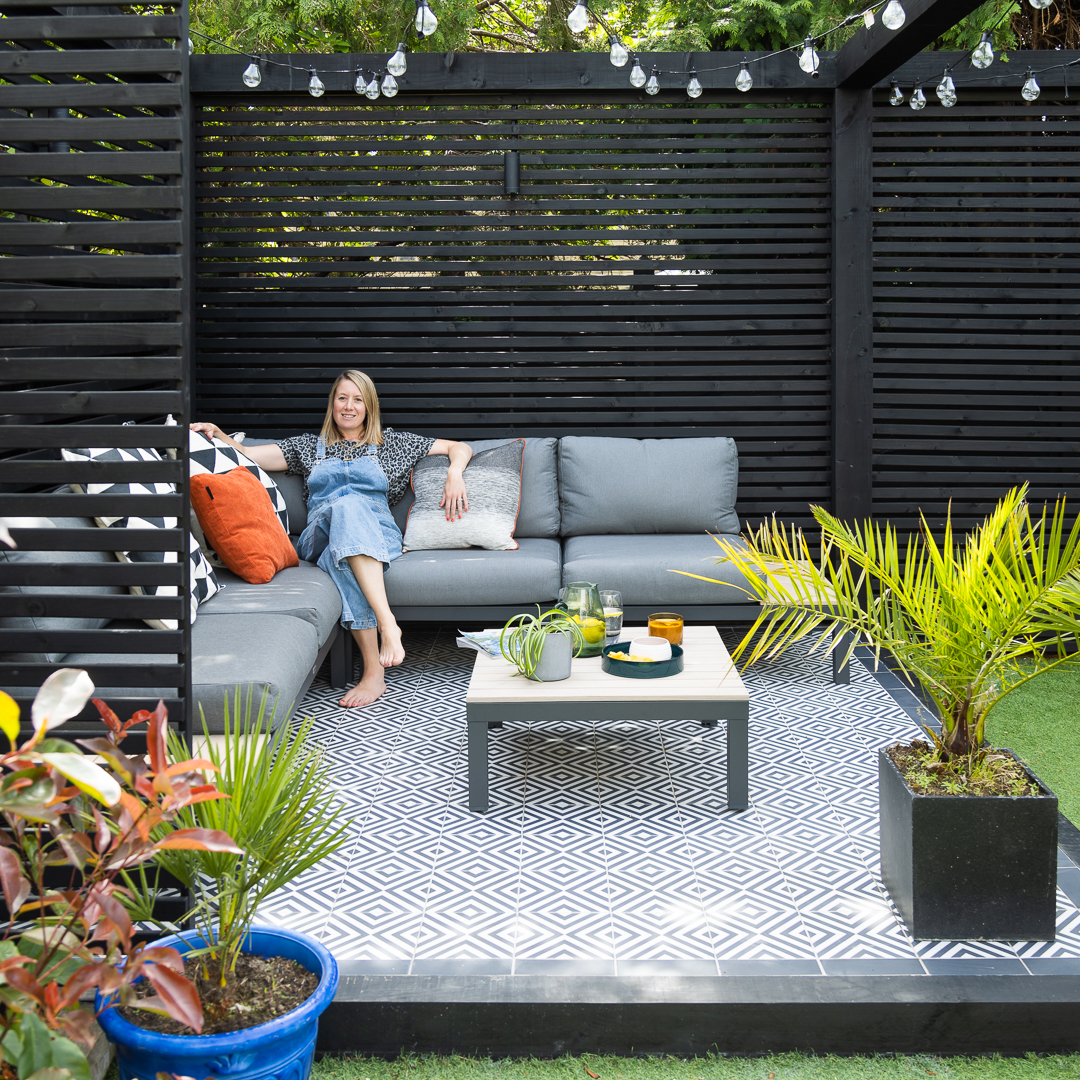
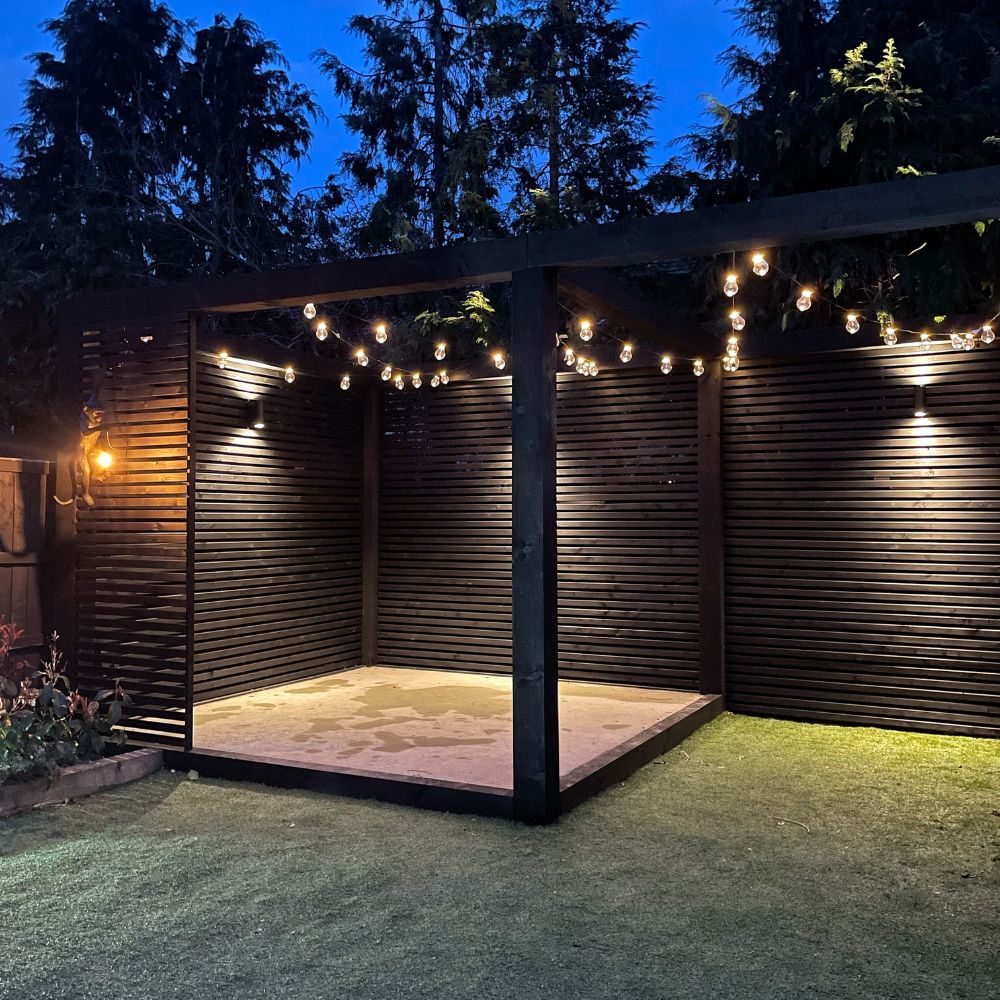
Not to blow my own trumpet, but I am still blown away by the end result and I am so happy with it. It does everything I set it out to do when I designed it, and the bespoke design perfectly frames the bottom of the garden making the garden feel more like part of the house.
The linear lines of the black timbers and the geometric tiles compliment the interior of our home making it feel like it’s always been there.
Lastly the final piece of the puzzle was adding the nest swing and trapeze bars on the right hand side for the kids. The more challenging part was working out exactly where to place the hooks through the top timber so that the swings wouldn’t be too close to each other or too close to the frame.
That’s it! That is how we designed and built the gin terrace. Any questions just let me know and here are some more pictures of the finished design.
Information
Design – Claire Moran Designs
Build – MPRM Design & Build
Tiles – Mandarin Stone
Lighting
- Louie the Monkey from Dowsing and Reynolds
- Black wall lights by Astro Lighting
- Festoon Lights from Lights 4 Fun
Play equipment from Plum Play
Sofa and table set
- Elba Low Kettler
Photo credit Portrayed Photography for the header image and some imagery throughout.


You May Also Like
Top Tips for Your Home Renovation
Top Tips For Hassle Free Home Renovations